
Last updated September 20, 2026
Full 25-point door and opener safety check with every visit - springs, cables, rollers, tracks, and your LiftMaster or Chamberlain opener included
You get a price before we start. It does not change when the truck arrives.

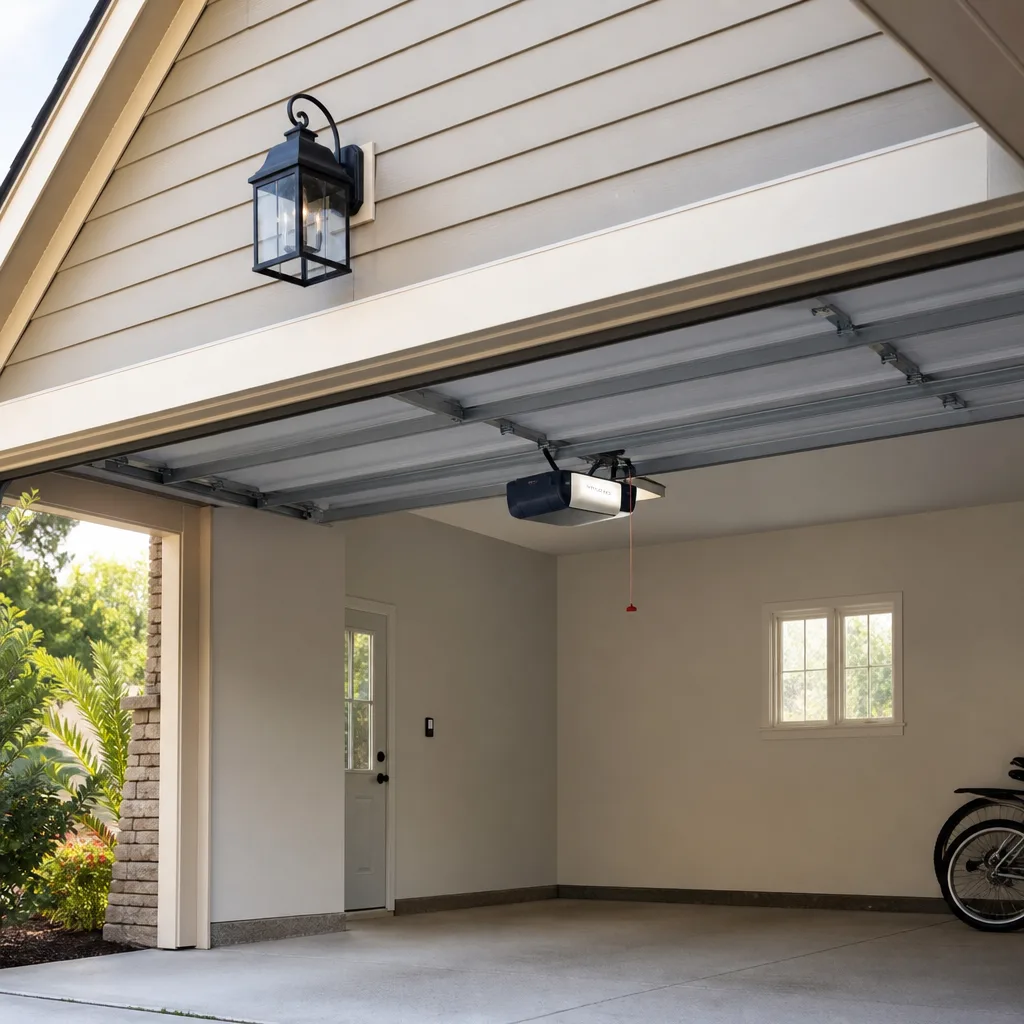
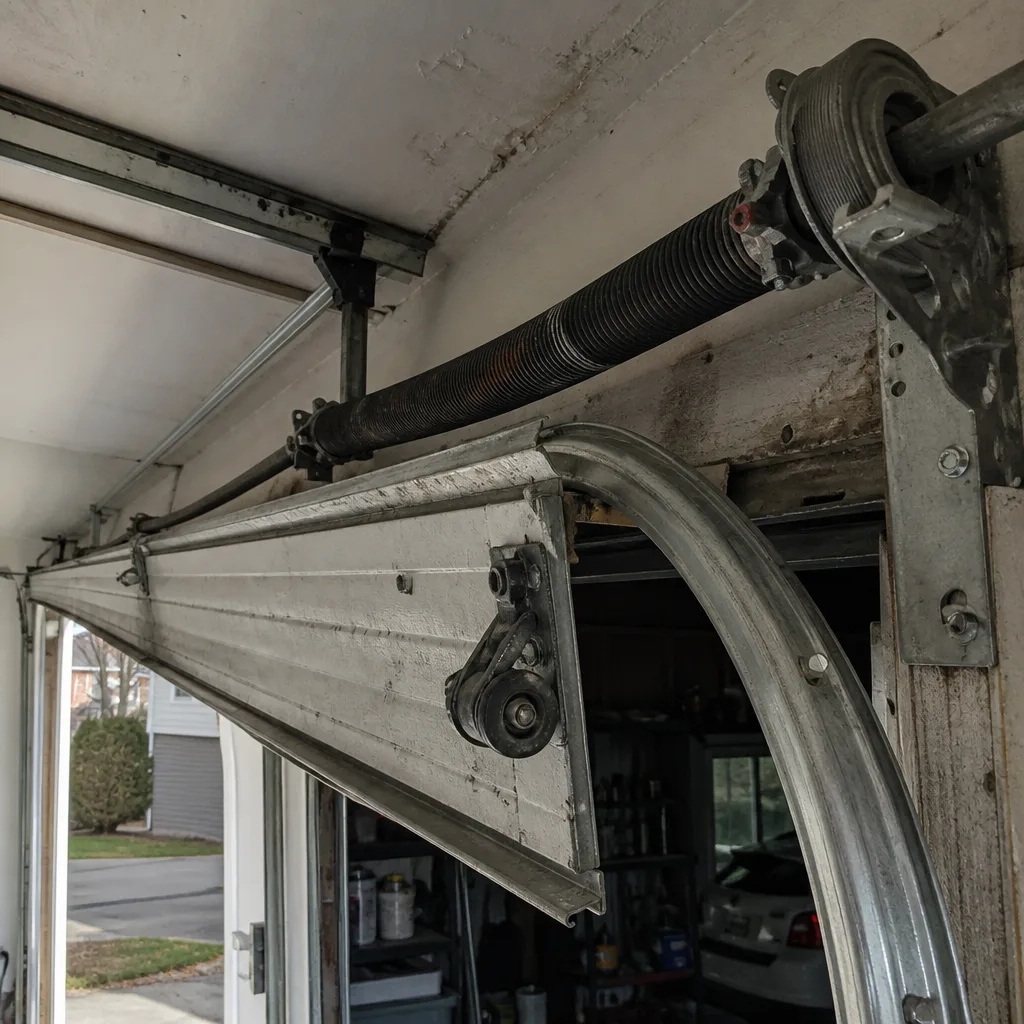 Before
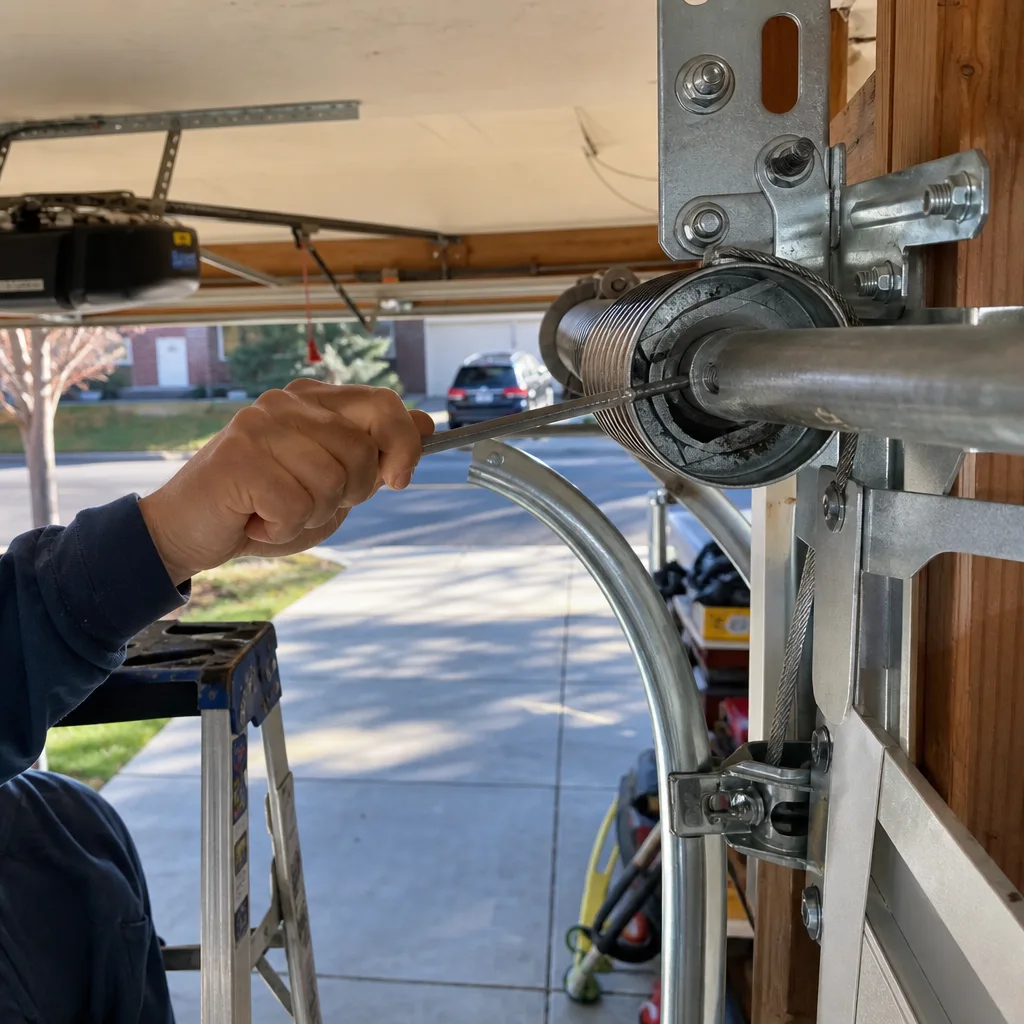 After
After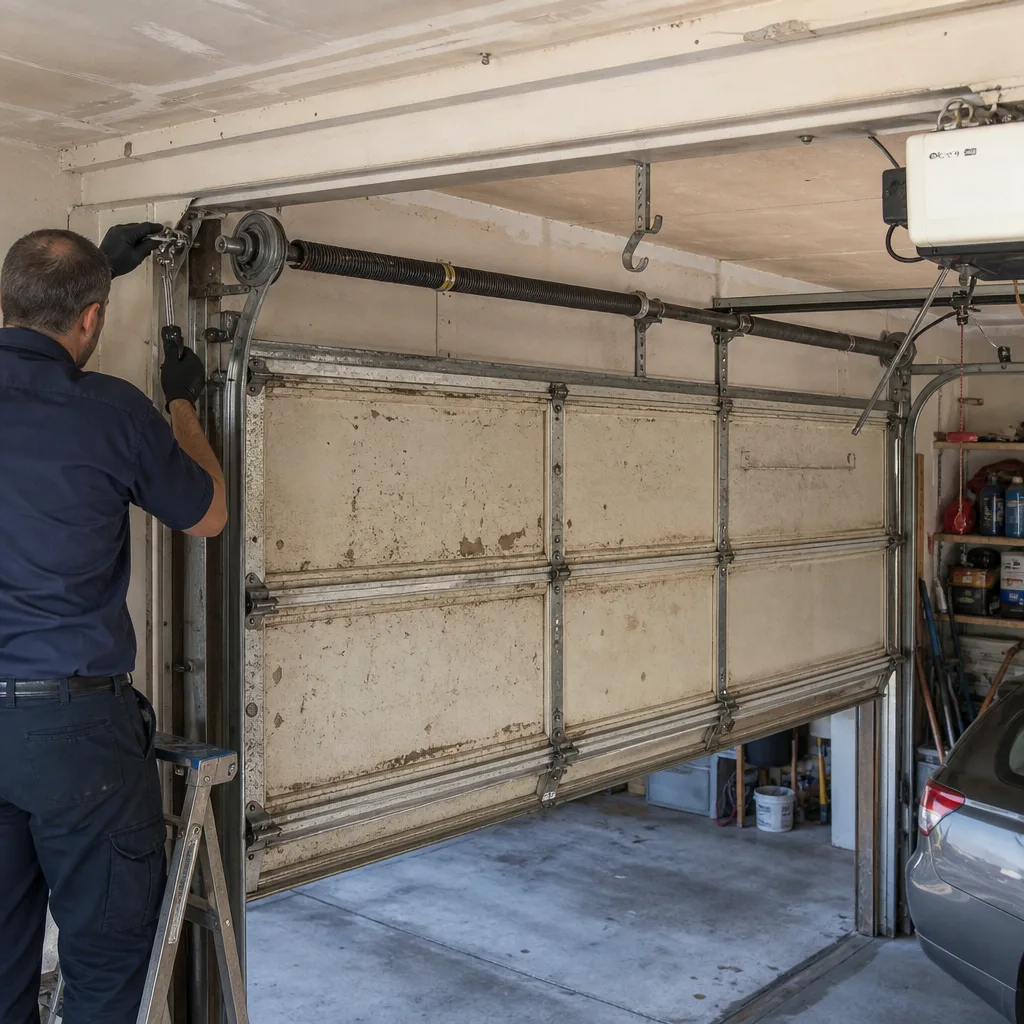 Before
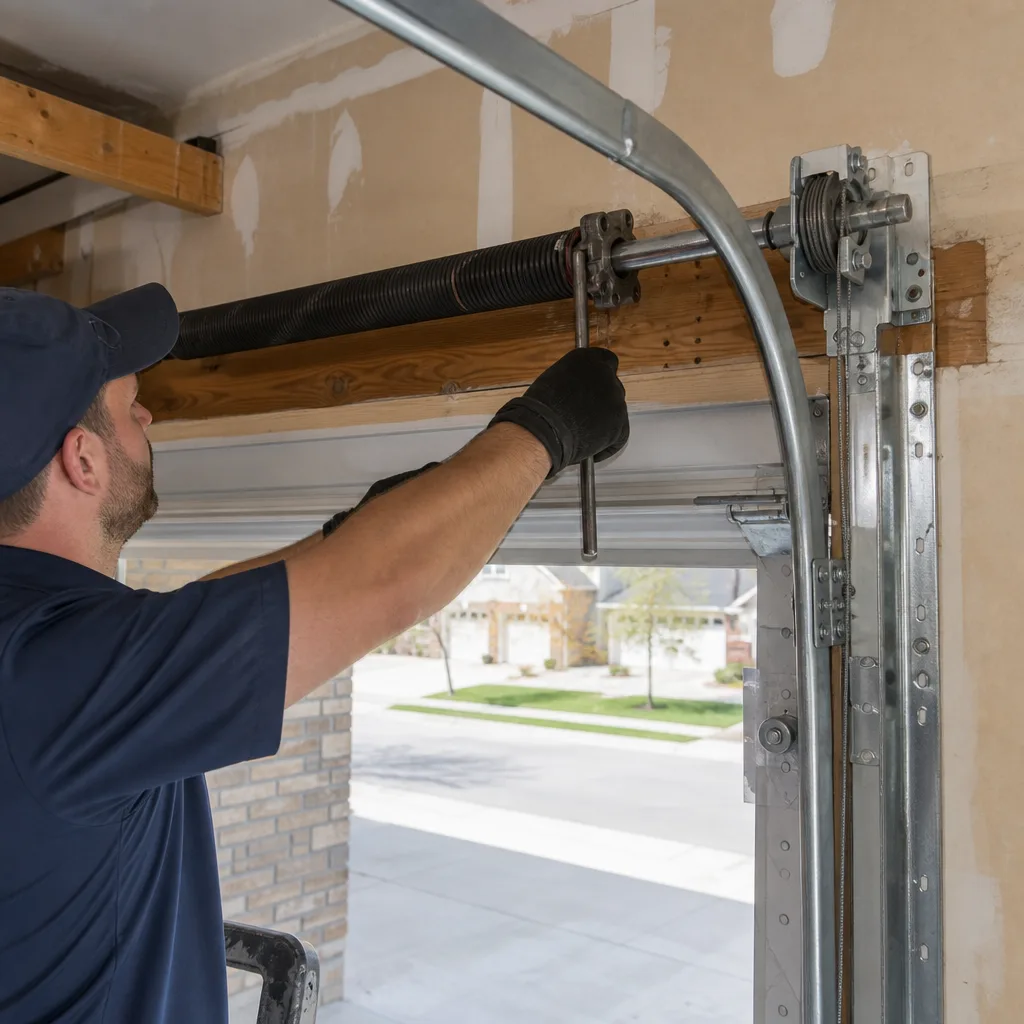 After
After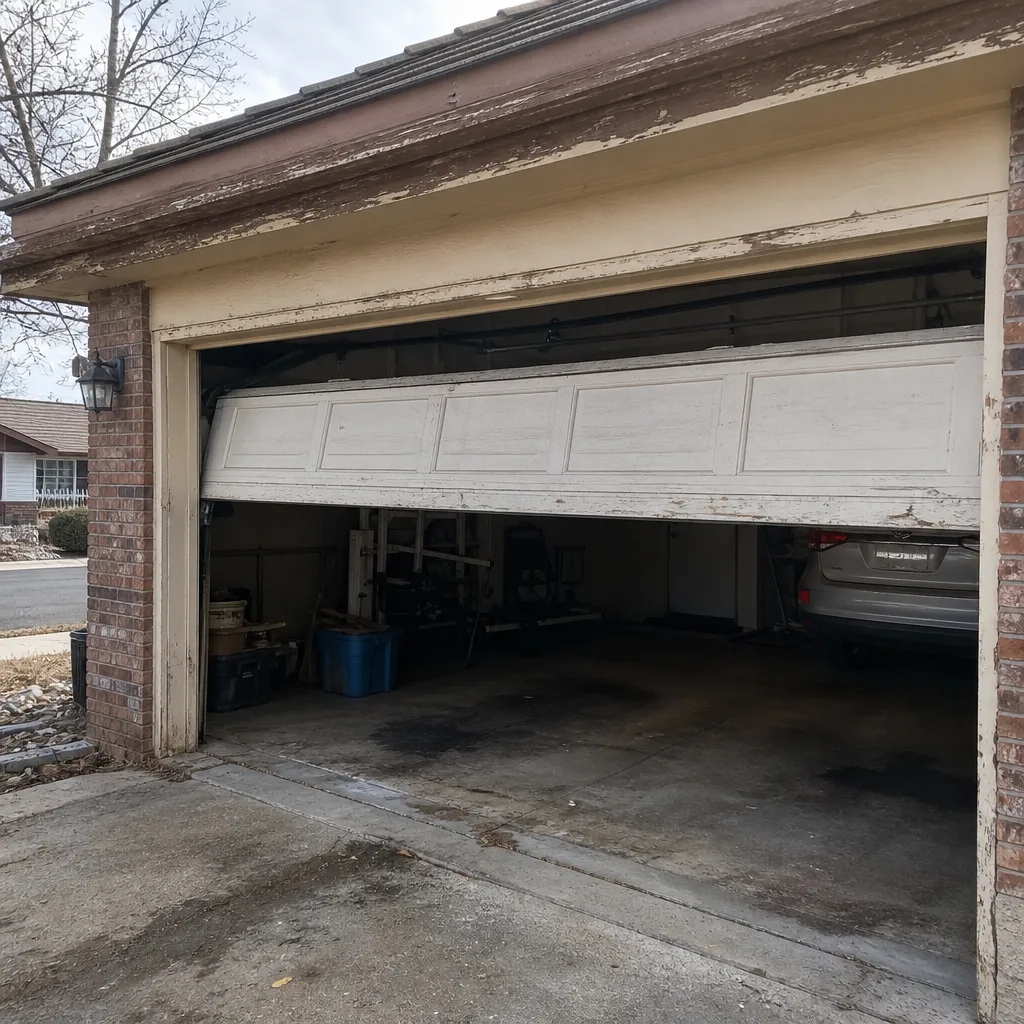 Before
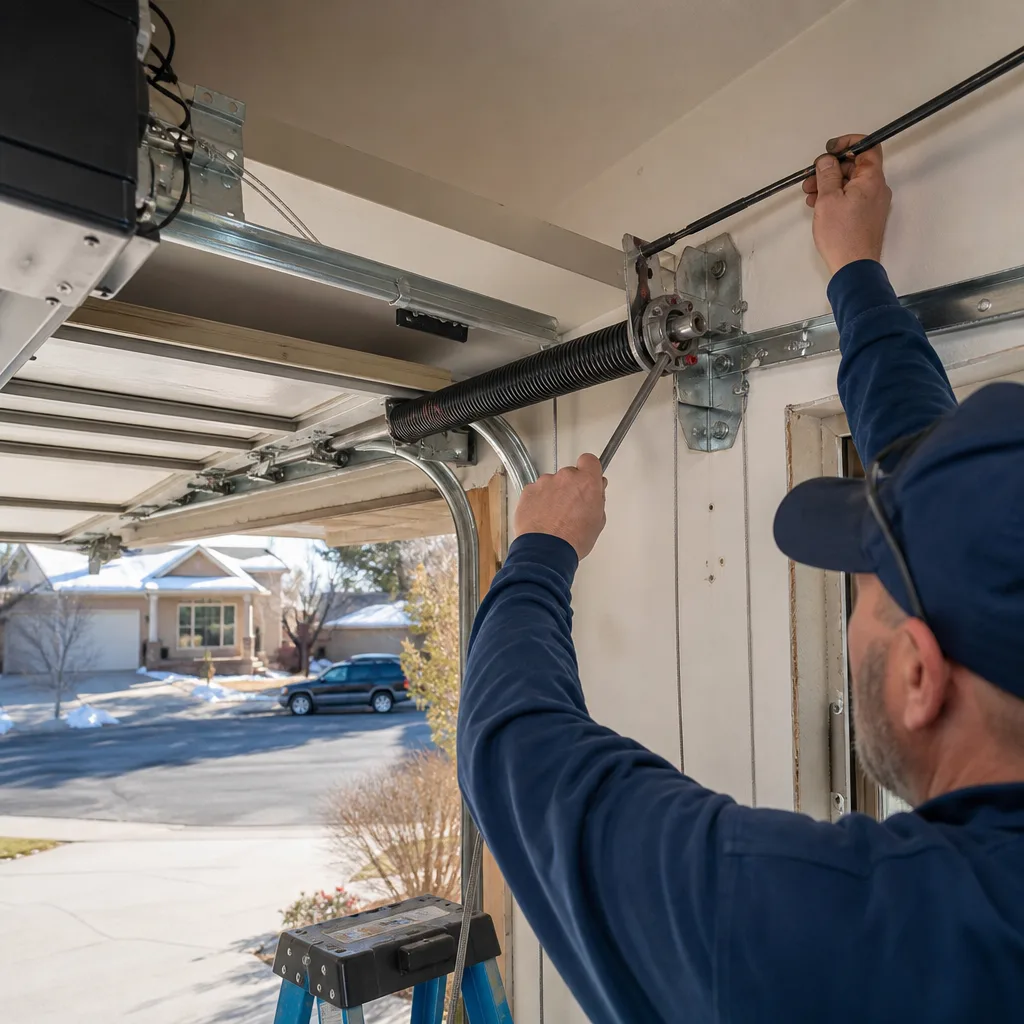 After
AfterDIY vs Professional Garage Door: The Littleton Homeowner’s Decision Guide
A torsion spring stores roughly 100 foot-pounds of torque when wound to the standard seven and a half turns on a seven-foot door. That single number changes the DIY calculation in ways a YouTube thumbnail never will. The spring replacement tutorial has millions of views, and most of those viewers walk away believing the job is a socket-wrench afternoon. In Littleton, where garage doors cycle through freeze-thaw winters and hundred-degree summers, the question isn’t whether you’re handy. It’s whether you know which components store energy while they wait, and which ones don’t. This guide draws that line.
Quick Answer
Most garage door maintenance tasks are safe for a competent homeowner: weatherstripping, lubrication, sensor alignment, opener battery replacement, and limit-switch adjustment. Torsion spring replacement is not one of them. The deciding factor isn’t skill level. It’s whether the part you’re touching stores kinetic energy under tension. When it does, the cost of being wrong is measured in fingers, eyes, and hospital bills, not just a redo.
Table of Contents
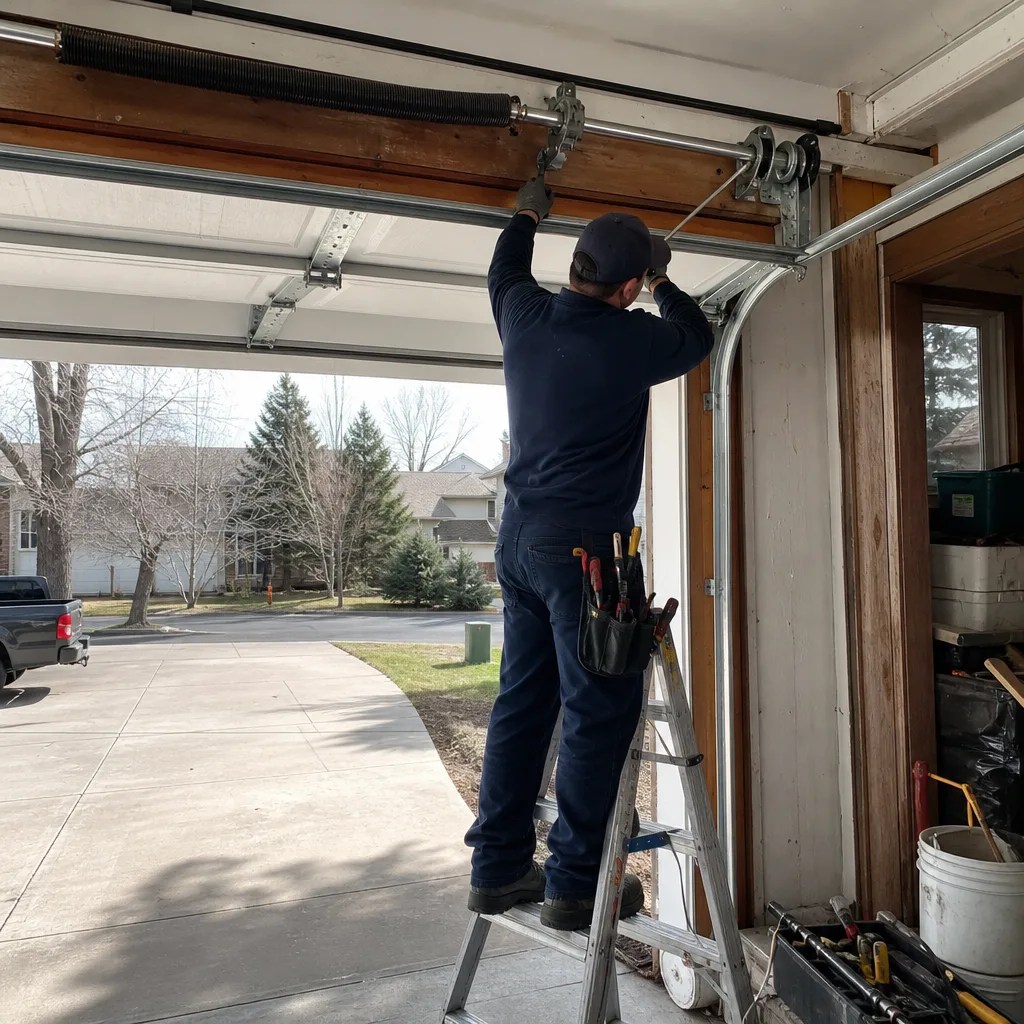
- The Component-Level Risk Matrix: Where the Line Actually Sits
- The Math of DIY Spring Replacement: Tools, Second Springs, and Calibration
- What “Saving the Labor” Actually Saves: A Littleton Math Problem
- Where DIY Is the Objectively Correct Choice
- How to Document Your DIY Work Like a Professional
- Why Littleton’s Climate Makes Some DIY Work Riskier
- Common Mistakes to Avoid
- When to Call a Professional
 Before
 After
AfterThe Component-Level Risk Matrix: Where the Line Actually Sits
Garage door repair is not one skill. It’s a collection of thirty or so discrete tasks, and they do not share a risk profile. A homeowner who can safely replace a weatherstrip has not earned the right to touch a cable drum. The line between safe and dangerous has nothing to do with mechanical aptitude and everything to do with stored energy. Here’s the breakdown we use with homeowners in Littleton, organized by what the part is doing when the door is at rest, and for a complete Garage Door Repair Maintenance Checklist for Littleton Homeowners, see our dedicated guide.
Low Risk: Parts That Sit Passive
- Bottom weatherstripping and vinyl side seals: These wear out every two to four years in Littleton’s dry air and temperature swings. They pull out of an aluminum channel and slide back in. No spring, no cable, no tension.
- Hinge lubrication: White lithium grease on the hinge pins and roller stems. Takes ten minutes. Zero risk if you keep your hands away from moving parts while the door cycles.
- Photo-eye sensor realignment: The sensors at the bottom of each track get kicked by bikes, garbage cans, and snow shovels. Realigning them is a bracket-and-wingnut job.
- Opener battery replacement: The wall console and keypad run on standard batteries. This is a screwdriver task.
- Track cleaning: Vacuuming debris from the vertical and horizontal tracks. No tension involved.
Medium Risk: Parts Under Some Tension or Weight
- Limit-switch adjustment on a belt-drive or chain-drive opener: You’re changing where the opener stops pushing and pulling. Safe if you follow the manual, but a mistake means the door slams harder than it should and wears the gear faster.
- Roller replacement on non-bottom rollers: Most vertical-track rollers can be swapped one at a time with the door held by the opener. The bottom roller is different: it carries the weight and sits next to the lift cable. Leave the bottom roller to someone who does this weekly.
- Opener remote programming: Needs the learn button and patience. No physical risk. The risk is bricking the remote and calling support at Chamberlain or LiftMaster, which tests a different kind of endurance.
High Risk: Parts That Store Energy While the Door Is Closed
- Torsion spring replacement: The spring above the door is wound tight even when the door is closed. That’s how it lifts a 150-to-200-pound door with a motor smaller than a blender. A winding bar slip here doesn’t bruise a knuckle. It breaks bones and removes fingers.
- Extension spring replacement with the door up: Extension springs stretch along the horizontal tracks. They store energy in their stretched steel. When one breaks under load, the spring becomes a projectile. Safety cables are required by code for exactly this reason, and older Littleton homes often don’t have them.
- Cable drum replacement: The cables wrap around grooved drums at the top of the door. If they’re removed while the spring still has torque, the drum spins and the cable becomes a steel whip. This is not a hand-tool job.
- Header bracket removal: The bracket that holds the torsion spring assembly is bolted into the framing above the door. It carries the entire lifting force of the spring system. Removing it while the spring is under load is among the most dangerous things you can do in a garage.
The rule we give Littleton homeowners is simpler than it sounds: if the part is under the door, you can probably do it. If the part is above the door or alongside the top tracks, and it’s connected to a spring or a cable, the stored energy makes it a professional job. Not a skill question. A physics question.
The Math of DIY Spring Replacement: Tools, Second Springs, and Calibration
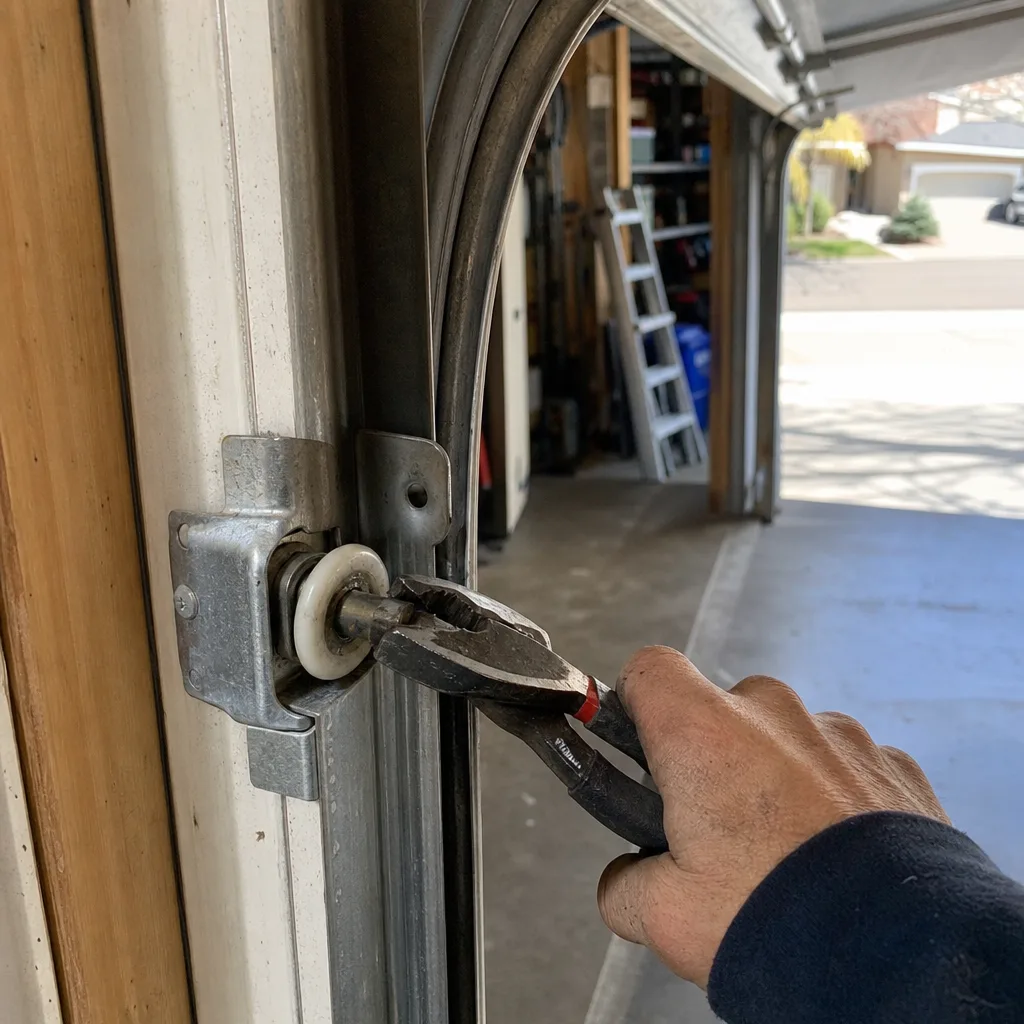
We hear the same sentence from Littleton homeowners every month: “The spring is sixty bucks online. Why does a professional replacement cost three hundred?” The answer is that the spring is sixty bucks, and that number has about as much relationship to the real cost of a spring replacement as the cost of a steak has to a restaurant bill. Here’s the actual math, line by line.
The Parts You Don’t Know You Need
- Torsion spring: $45-$75 per spring for a standard seven-foot residential door, depending on wire diameter and brand. You can find them for less. You should not.
- The second spring: $45-$75. Torsion springs are replaced in pairs, always. If one broke, the other is within a few hundred cycles of the same failure. Replacing only the broken one means you’ll do this job again in months, and this time the door will be unbalanced while you wait for the new spring to arrive. A Littleton door that falls out of balance is a door that wears the opener gear to dust.
- Winding bars: $20-$35 for a pair of solid steel rods, half an inch in diameter and eighteen inches long. You cannot use a screwdriver. You cannot use a ratchet extension. The bars are a consumable safety tool, and if you use the wrong thing, the spring unwinds violently.
- Vise grips and locking pliers: $15-$25. You need them to hold the torsion tube while you secure the drums. Cheap ones slip, and a slipped grip at wind-up is the moment the bar comes back at your face.
- Spring gauge and calipers: $10-$30. The replacement spring has to match the wire diameter, inside diameter, and length of the old one. Guess wrong and the door either won’t lift or it will lift too fast and eat the opener. A digital stainless caliper is the only way to measure this accurately on a broken spring.
- Drill and socket set: Most Littleton homeowners own these. If you don’t, add $50-$100.
Littleton Price Reality
| Line Item | DIY Cost | Professional Cost (Littleton Range) |
|---|---|---|
| Pair of torsion springs | $90-$150 | Included in flat price |
| Winding bars | $20-$35 | Included (technician-owned) |
| Gauge and calipers | $10-$30 | Included (technician-owned) |
| Labor (2-3 hours DIY, 45-60 min pro) | Your time | $90-$150 |
| Total realistic outlay | $120-$215 plus 2-3 hours | $200-$340, flat written price |
Please read that table slowly. The DIY savings on a torsion spring replacement in Littleton is usually between eighty and one hundred twenty dollars. That’s the gap between the cheapest safe version of doing it yourself and a professional doing it with the right tools, in under an hour, with a warranty and a photo record of what was found. And that’s before we talk about calibration.
The Calibration Problem
A torsion spring system is balanced when the door, disconnected from the opener, holds itself roughly halfway open. If the spring is wound one quarter-turn too few, the door feels heavy and the opener motor’s gear shaves a little more plastic off with every cycle. One quarter-turn too many, and the door jumps off the floor like it’s been kicked, which wears the hinges and slams the top section into the header. Both errors shorten the life of the system. Neither is visible to the naked eye on day one. We’ve measured springs in Littleton homes that were installed by homeowners six months earlier and were already three to five pounds out of balance. The opener doesn’t complain. It just dies younger.
Calibration error is the quiet cost of DIY spring work. It doesn’t show up as a failure. It shows up as a door that needs another two-hundred-dollar opener replacement in four years instead of ten. The math of eighty dollars saved starts to look different when it costs you an opener gear a few years early.
What “Saving the Labor” Actually Saves: A Littleton Math Problem
Let’s do a different kind of math, and please understand this is not a scare tactic. It’s an honest comparison. The labor line on a professional torsion spring replacement in Littleton runs between ninety and one hundred fifty dollars. That’s the line you’re deleting when you decide to DIY. Here’s what the other side of that deletion can cost.
A tension-related hand injury in the Denver metro area, uninsured or on a high-deductible plan, starts around two to four thousand dollars for an emergency room evaluation, X-rays, splinting, and follow-up care. A fracture that needs surgery runs higher, often much higher. That’s not a worst-case-study number. That’s the baseline for a wound from a winding bar that slipped while it was under torque. The bar moves at roughly the speed of a baseball bat swing, except it weighs three pounds and it’s made of solid steel.
So the equation is: save one hundred dollars, risk between two and four thousand dollars in emergency care, plus weeks of reduced hand function, plus the garage door still being broken because the spring is only half-installed when the injury happens. We’re not in the business of telling Littleton homeowners to be afraid of their garages. We are in the business of telling them to be afraid of the right parts, and the torsion spring is the right part to be afraid of.
The Second Math: When DIY Costs More Than Hiring
There’s another scenario we see regularly. A homeowner starts a spring replacement on a Saturday morning, the winding bar slips and takes a chunk out of the drywall, and the spring is now half-wound with no one willing to touch it. The homeowner calls us at 2 p.m., we arrive to find the spring partially tensioned and the door jammed against the track. Now the job is no longer a standard spring replacement. It’s a de-tensioning, an inspection for damage, and a re-installation. That job costs more than it would have at 8 a.m., not because we’re charging a penalty, but because there’s more labor involved in undoing a partial job than doing a fresh one.
We’ve seen this in Ken Caryl, in Sterling Ranch, in the older neighborhoods off South Santa Fe Drive. The pattern is always the same: the video made it look like twenty minutes, and the reality of forty pounds of torque did not. The homeowner ends up paying more than the original professional quote would have been. We mention this not as a “gotcha” but as a planning consideration. If you’re going to DIY the most dangerous part in your garage, know what the exit plan is if it goes wrong at noon on a weekend.
Where DIY Is the Objectively Correct Choice
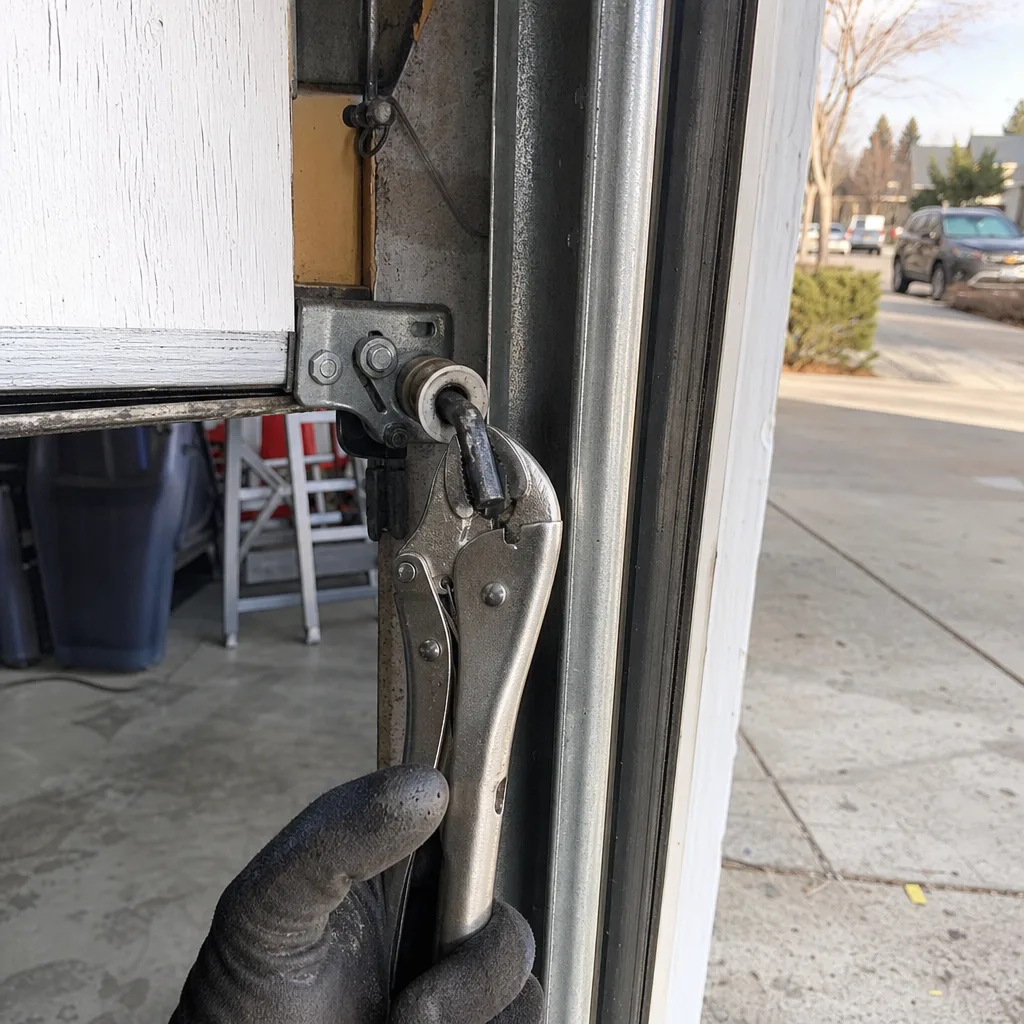
This guide is not an argument against doing your own garage work. It’s an argument for doing the right kind. A technician who tells you to call a professional for weatherstripping is either trying to sell you something or doesn’t respect your intelligence. Here are the tasks where DIY isn’t just acceptable. It’s what we would tell our own neighbors in Littleton to do themselves, and for Garage Door Permits, Codes & Inspections in CO: What You Need to Know, check our compliance guide.
1. Lubricating the Rollers, Hinges, and Bearing Plates
Buy a can of white lithium grease or a dedicated garage-door lubricant from any hardware store off South Wadsworth or in the Belleview corridor. Apply a small amount to the steel hinge pins, the roller stems, and the end bearing plates above the door. Do not use WD-40; it’s a solvent, not a lubricant, and it will strip the grease that’s already there. Do this twice a year in Littleton. The dry air here turns lubricant to paste faster than coastal climates.
2. Replacing the Bottom Weatherstrip
The rubber strip on the bottom of your garage door in Littleton takes direct sun in summer and direct ice in winter. It cracks, delaminates, and stops sealing. A replacement strip runs fifteen to thirty dollars. Pull out the old one from the aluminum retainer channel, spray the channel with soapy water, and slide the new one in. Twenty minutes. No risk. We’d rather you spend your money on good weatherstripping than pay us to slide rubber into a channel.
3. Replacing Opener Batteries and Reprogramming the Keypad
The keypad battery is usually a nine-volt under a plastic cover on the keypad housing. The remote battery is a coin cell. Changing both is a five-minute task. If reprogramming is needed, the opener manual has a learn-button sequence that works on LiftMaster, Chamberlain, and Genie units alike. You don’t need a service call for this, and any company that tries to sell you one is not a company you want in your house.
4. Realigning the Photo-Eye Sensors
The sensors sit about six inches up the door track on both sides. They get bumped by bikes, lawn equipment, and kids. If the opener light blinks and the door won’t close, check whether the little LED on each sensor is lit. If one is dark, loosen the mounting bracket wingnut, re-aim the sensor at the one across the door, and tighten. This is a bracket adjustment. No safety risk if you don’t move the door while your hands are near the track.
5. Adjusting the Force Setting on a Belt-Drive Opener
If your belt-drive opener reverses when the door touches the floor, you can adjust the force dial on the motor unit by a small increment, usually a quarter turn at a time. Test by placing a two-by-four flat under the door and confirming the door reverses on contact. This is a documented procedure in the manual for most Chamberlain and LiftMaster models. It’s a ten-minute job with a flathead screwdriver.
These five tasks cover most of what we’d call “garage door maintenance,” and a Littleton homeowner who does them consistently will extend the life of the door by years. For a full walkthrough, see our guide on Garage Door Repair in Littleton.
How to Document Your DIY Work Like a Professional
Here’s a habit that will save you money and frustration later, and it costs nothing: document your own garage door work the way a professional should. Not for us. For the next technician who touches the door. And for your own memory, because in three years you will not remember what spring you installed or what setting you adjusted.
Clause 4 of The Haven Standard is the rule that a technician photographs the failed component before quoting a replacement. The logic is simple: the customer should see what we saw, with the part in their hand or on the bench, not be asked to take the word of someone who says “it looked bad.” You can apply the same logic to your own work. Here’s how.
- Photograph the thing before you touch it. If it’s a broken weatherstrip, take a picture of the crack before you remove it. If it’s a misaligned sensor, photograph the sensor bracket as it sits. These photos become your baseline.
- Measure and record part numbers. When you replace a spring, a roller, or a weatherstrip, write down the brand, the model number, and the dimensions. For rollers, that’s the stem length and wheel diameter. For a spring, that’s the wire diameter, the inside diameter, and the overall length. Store this information in a note on your phone or in a file folder in the garage.
- Record the settings you changed. If you adjust the force dial, the limit switch, or the travel on the opener, take a before photo and an after photo of the dials or switches. In three years, when the opener behaves differently, you’ll know what was changed and can reverse it without guessing.
- Photograph the completed work. Not for the gram. For the record. A photo of the new weatherstrip in place, the new sensor alignment, the newly lubricated hinge pins. This is what “done” looked like when you finished.
- Keep your receipts. Especially for springs and openers. Most manufacturers have warranty periods that require proof of purchase date, and “I bought it in March, I think” doesn’t get a replacement part shipped.
We like this approach because it’s exactly how our Servo Garage Doors Littleton home team works: evidence first, then action, then documentation. A homeowner who does this for their own work is not competing with a professional. They’re making the professional’s job easier the next time, and they’re protecting their own warranty claims in the meantime. If you want to see what a professional photo record looks like on a repair, this is the standard we work to on every visit, and it traces back to the founding rule we’ve operated under since 2015.
Why Littleton’s Climate Makes Some DIY Work Riskier
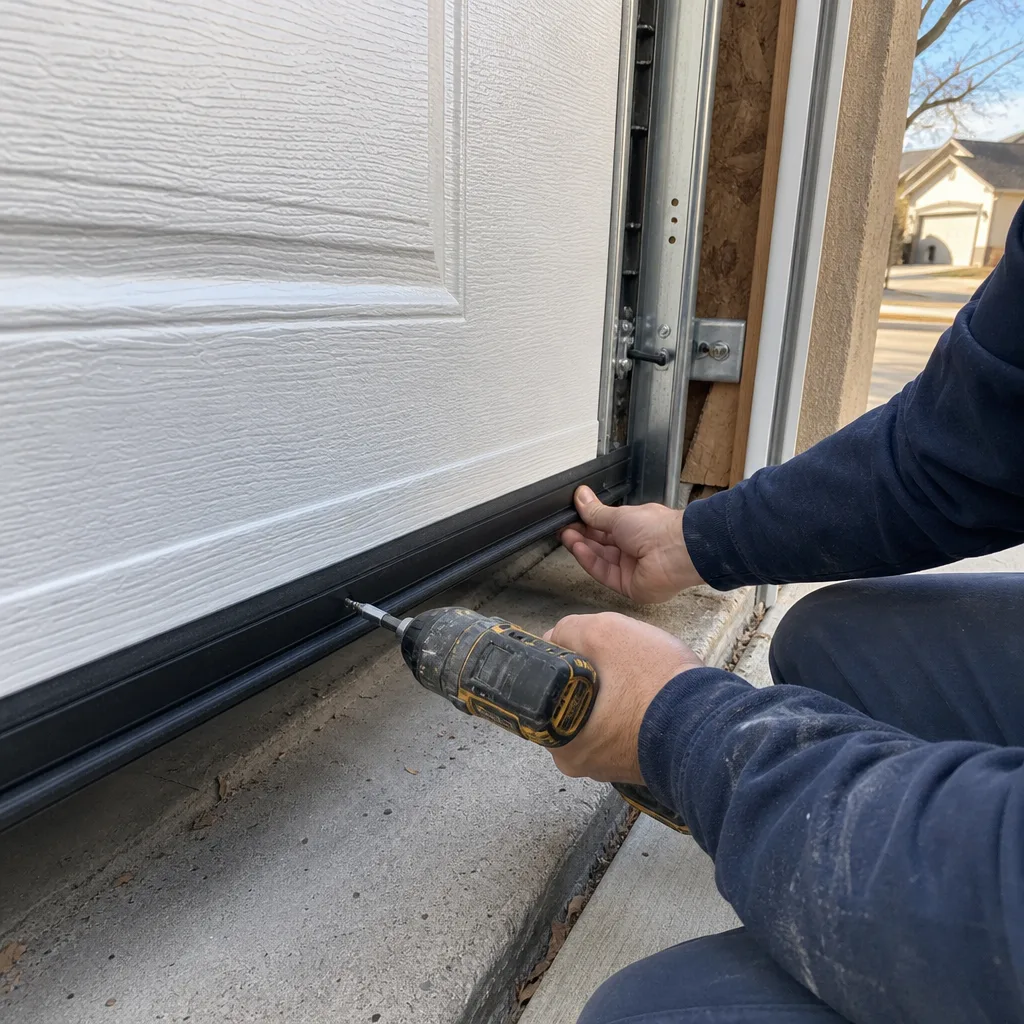
Littleton sits at 5,351 feet with an average of 245 sunny days a year. That sounds like a chamber-of-commerce line, but it has a direct effect on garage doors. The combination of high-altitude UV exposure and dramatic winter temperature swings does things to steel and rubber that coastal and even midwestern garage door owners never see. When you’re making DIY decisions, the climate here shifts the calculus on a few specific tasks.
First, the temperature swings. A Littleton winter day can start at ten degrees and hit fifty by noon, and that’s not an exaggeration. Steel expands and contracts with every cycle. On garage doors, that stress concentrates in three places: the torsion spring, the hinge screws, and the fasteners that hold the tracks to the framing. The spring absorbs the expansion and contraction by flexing microscopically with each cycle, which is why Littleton springs often fail at the coil after eight to twelve thousand cycles rather than the ten to fifteen thousand you’d see in a more stable climate. The hinge screws simply loosen. That’s a DIY win: check and tighten the hinge screws every spring and fall with a socket wrench. But the spring? When it fails in Littleton, it fails abruptly, and the failure point is under full torque.
Second, the UV. The south-facing garage doors in Littleton, the ones that face the mountains and take sun from ten in the morning until six at night, bake. The paint fades. The rubber weatherstripping turns brittle and cracks. The nylon bushings inside the rollers dry out. The weatherstripping replacement is a clean DIY job, and we recommend it. The roller replacement on a south-facing door, especially the bottom rollers, is a different discussion because the lift cables are right there, and a dry-rotted bushing that shatters during removal can send the roller stem into the track at an angle that binds the door. It’s a medium-risk job that becomes higher-risk on a Littleton door that’s been cooking in the sun since 2015.
Third, the dust. The Front Range’s dry, dusty air settles into every crack, including the garage-door track channels and the opener’s internal gear housing. We see openers in Littleton with gear teeth packed with a paste of dust and old grease, grinding away. Cleaning the track channels is a safe DIY task. Opening the opener’s gear housing is not, not because it’s dangerous but because the reassembly is fiddly and a misaligned logic board mount causes intermittent failures that cost more to diagnose than the opener is worth. For Garage Door Opener Repair & Installation in Littleton, the professional’s advantage is diagnostic, not physical.
Fourth, the snow. Not the snow itself, but the freeze-thaw cycle at the bottom of the door. When the driveway drains poorly and water pools at the door’s base, it freezes overnight and adheres the bottom weatherstrip to the concrete. The opener’s force system usually detects the blockage and reverses, but older openers in Littleton homes will rip the weatherstrip off the bottom panel or chew the opener gear instead. If you’re replacing a bottom seal on a door that fights the freeze every winter, consider a heavier-gauge seal and a check of your driveway slope while you’re down there.
Common Mistakes to Avoid
- Replacing only the broken spring: Torsion springs are replaced in pairs, always. The surviving spring is statistically near its end-of-life, and running a door for months with one new and one old spring puts the whole system out of balance. In Littleton’s freeze-thaw climate, the extra load shortens the opener gear life by years.
- Using the wrong winding bars: A screwdriver, ratchet extension, or pry bar is not a winding bar. The winding bar is a solid steel rod that fits the winding cone’s holes exactly. Improvising means the bar slips out at the moment of maximum torque. We have never once met a homeowner who improvised a winding bar and finished the job with both hands intact.
- Undoing the cable drum before de-tensioning the spring: The cable drums are under spring tension. Looseening the set screw on a drum while the spring is wound releases the cable at speed. This is the specific step that causes the cable whip injuries you read about. The order of operations on any spring/cable job is: de-tension the spring, then and only then touch the cables.
- Lubricating the wrong parts: The nylon bushing inside the rollers should not be lubricated. Neither should the nylon track guides. Lubricant on nylon attracts dust, and in Littleton’s dry air, that dust turns to a thick abrasive paste inside the roller bushing, which is the opposite of what you want.
- Adjusting the limit switch by feel: The door should close fully and then the opener should stop. Adjusting the down-limit switch by ear without testing the reverse function on a two-by-four is how you end up with a door that slams into the concrete and a bent bottom panel. Do the test every time.
- Skipping the photo documentation: If you do the work and don’t document it, the next technician has to re-diagnose from scratch, and you’ll pay for that diagnostic. A photo record of what you changed, with part numbers if possible, turns a 45-minute diagnostic into a 10-minute one.
- Calling a professional without getting a written price: This applies to the hiring side. If a garage door company in Littleton won’t put a flat price in writing before work starts, that’s not the company’s process, that’s their business model. We’re not naming names, but the pattern is consistent enough to recognize. Our position is simple: written price before any work starts, per Clause 1 of The Haven Standard, on every job, no exceptions.
When to Call a Professional
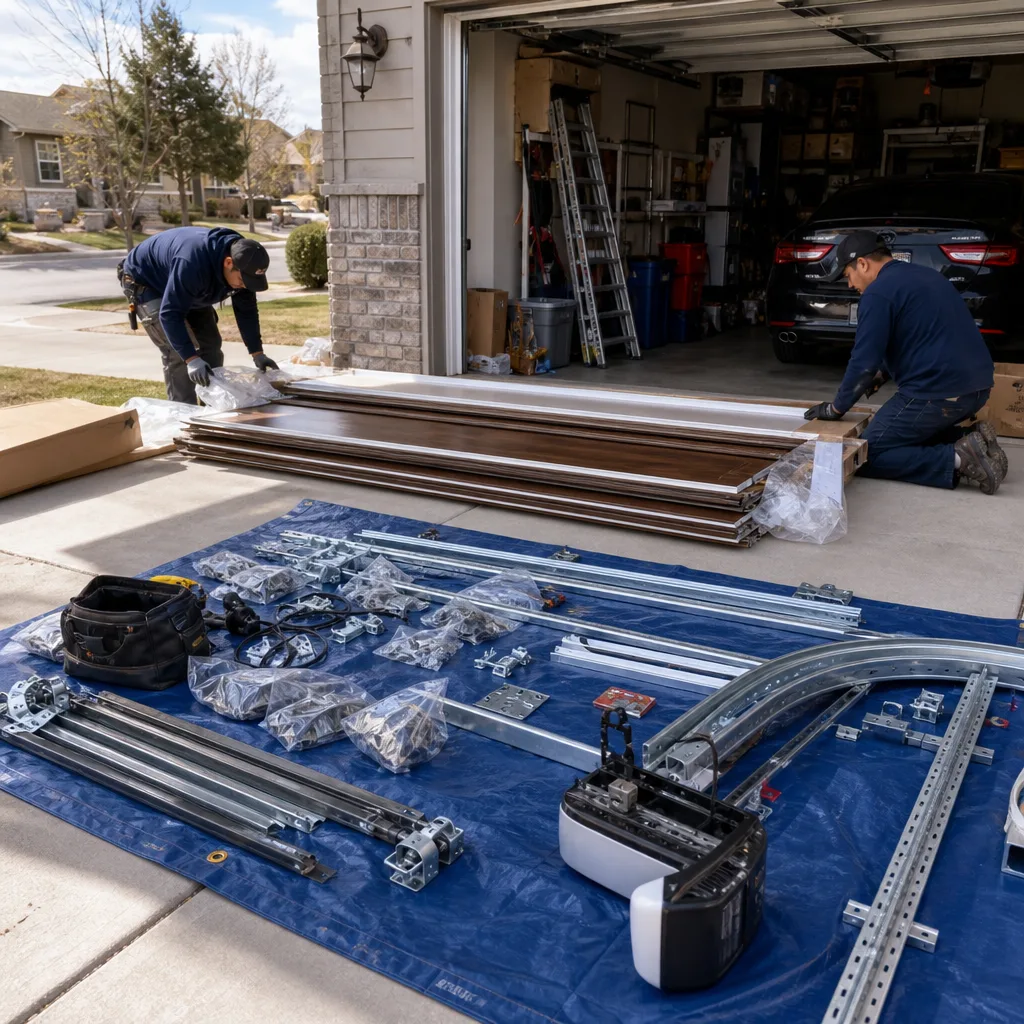
Call a professional when the job involves any part under tension: torsion springs, extension springs, cables, cable drums, or the header bracket that anchors them. Call when the door is off its track, when a roller has exploded and the door hangs at an angle, or when the opener is making a grinding noise that doesn’t stop after lubrication. These are not skill calls. They’re the line where the component-level risk exceeds what any homeowner should accept.
Servo Garage Doors Littleton offers free estimates across Littleton, and the Garage Door Installation in Littleton team is available for damage assessments and written scopes. Call (720) 636-7083 before you start a job you’re unsure about. We’d rather talk you out of a bad DIY plan than get called at fewer hours to undo one.
Frequently Asked Questions
No. A torsion spring stores 100 foot-pounds or more of torque and a winding bar slip can break bones or remove fingers. A few hundred dollars of labor is the cost of not spending the rest of your life with reduced hand function. In Littleton, a professional spring replacement typically falls between $200 and $340 for a residential door, and the price is quoted in writing before any work starts.
Replacing the bottom weatherstrip. It’s a fifteen-dollar part that slides into a channel, takes twenty minutes, and requires no tools beyond soapy water and a utility knife. In Littleton’s sun-baked south-facing garages, you’ll do this every two to three years.
If the door opens and closes normally and balances at the halfway point when disconnected from the opener, the spring is doing its job. If the door feels heavy, wants to slam, or you hear a loud bang and the door won’t move, the spring is broken and the remaining tension is the problem. Don’t attempt to move a door with a broken torsion spring; the imbalance can bind the track and the cable can come off under tension.
Usually yes. The most common cause in Littleton is misaligned photo-eye sensors or debris blocking the beam path at the floor level. Clean the lens, realign the sensor brackets, and check that nothing is stored in the beam path. If the problem persists, the force adjustment may need a small tweak, and that’s also a safe DIY step if you follow the manual and test with a two-by-four. If the issue is a grinding gear or a dead logic board, that’s a professional repair.
Professional replacement of a pair of torsion springs on a standard seven-foot residential door in Littleton runs $200 to $340, with the price agreed in writing before work starts. The DIY version realistically costs $120 to $215 in parts and tools, plus two to three hours and a non-zero probability of an emergency room visit. Please note this range is for a typical door; heavier or custom doors cost more.
Yes. Every estimate is free and comes with a flat, written price and written scope of work before any job starts. If you already have a written estimate from another company, bring the paperwork and we’ll provide a free second opinion on it. Call (720) 636-7083 to schedule.
The Bottom Line
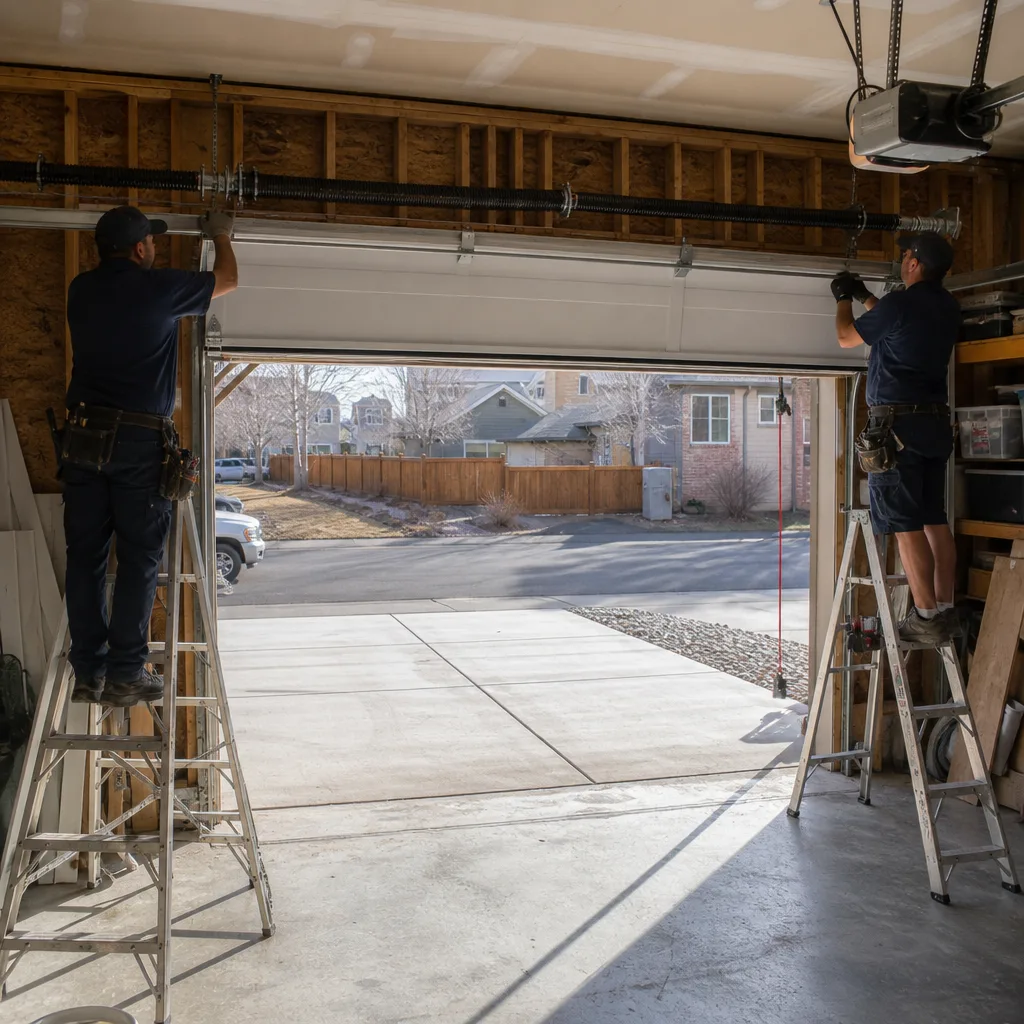
The DIY vs professional decision for garage doors is not about whether you’re handy. It’s about whether the component stores energy under tension. Weatherstripping, lubrication, sensor alignment, and opener batteries are homeowner work, full stop. Springs, cables, drums, and header brackets are professional work, full stop. The middle ground is where judgment lives, and in Littleton’s climate, that judgment should err toward caution on anything involving tension or weight. For Garage Door Opener Repair & Installation in Littleton, the same rule applies: if the work involves opening the motor unit or touching the internal mechanism, call a professional. If it involves a battery or a dial setting, do it yourself.
Written by Marcus Deller, Owner at Servo Garage Doors Littleton, serving Littleton since 2015. Explore more guides & resources on our blog.