
Last updated September 20, 2026
Full 25-point door and opener safety check with every visit - springs, cables, rollers, tracks, and your LiftMaster or Chamberlain opener included
You get a price before we start. It does not change when the truck arrives.

 Before
 After
After Before
 After
After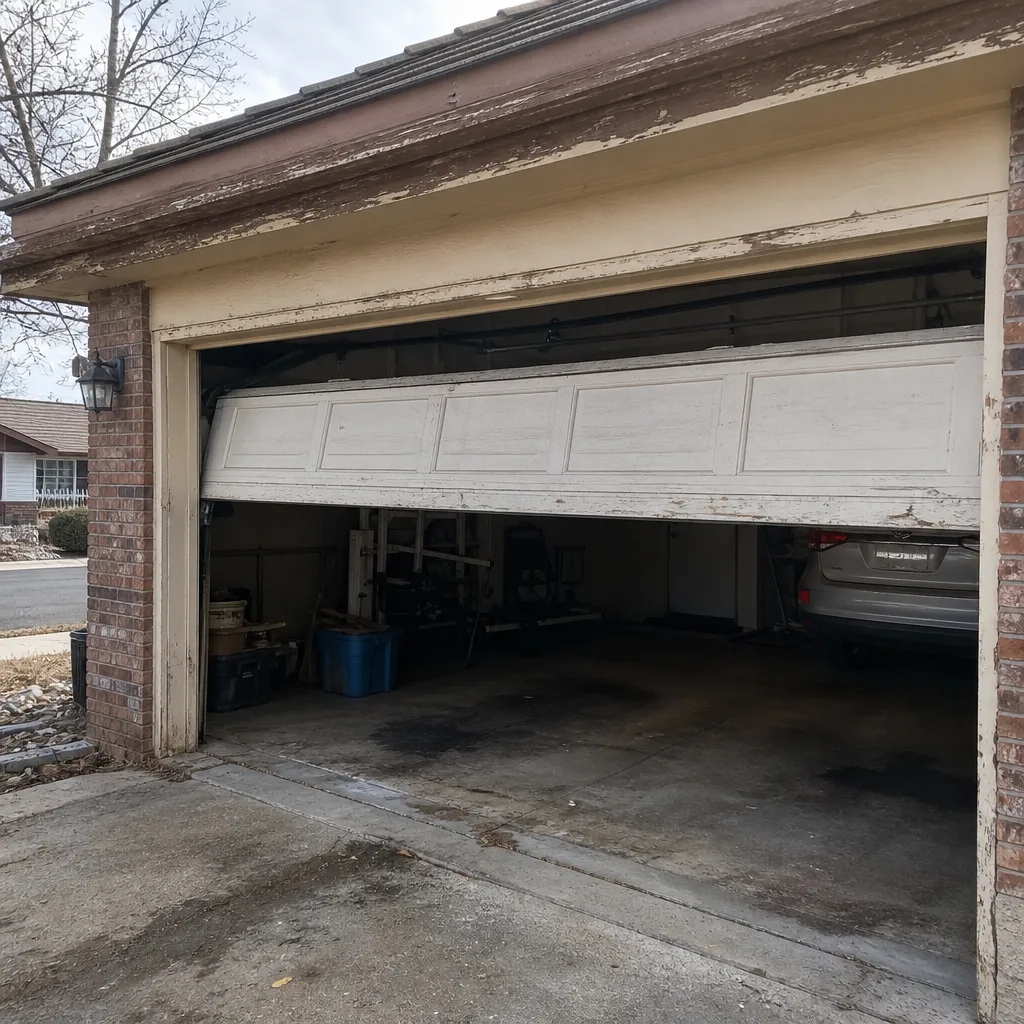 Before
 After
AfterGarage Door Repair Maintenance Checklist for Littleton Homeowners
Most garage door maintenance guides recycle the same tired line: “lubricate moving parts.” That advice is worse than useless in Littleton. We see torsion springs every week that failed early because someone sprayed the coils with WD-40, which washes out the factory grease, evaporates, and leaves the spring running dry against itself. The single most common cause of premature torsion spring failure in Colorado garages isn’t metal fatigue from age. It’s over-lubrication with the wrong product, which traps the fine grit that blows off the Front Range and turns the spring into a slow grinder. This guide names the exact products, the exact parts, and the exact tests. You’ll finish with a maintenance routine built for Littleton’s freeze-thaw cycle, not a generic national template.
Quick Answer
A proper garage door maintenance checklist for Littleton homeowners includes a monthly visual inspection of springs, cables, and rollers; twice-yearly lubrication of specific parts only (rollers and hinges get white lithium grease, springs get nothing except a light wipe-down); a quarterly balance test that confirms the door stays put when released at half-open; weather-seal inspection each fall and spring; and an auto-reverse force test with a 2×4 block that should reverse before compressing the wood. Ten minutes a month prevents most of the five-figure failures we replace in Littleton garages.
Table of Contents
- Part-Specific Lubrication Guide: What Goes Where (and What Never Touches the Track)
- The Balance Test: How to Perform It and What the Results Mean
- Weather-Seal Inspection for Littleton’s Freeze-Thaw Cycle
- Auto-Reverse Force Test: The Numbers That Matter
- Monthly Visual Inspection: The Ten-Minute Walkthrough
- A 12-Month Littleton Maintenance Calendar
- Common Mistakes to Avoid
- When to Call a Professional
- Frequently Asked Questions
 Before
 After
AfterPart-Specific Lubrication Guide: What Goes Where (and What Never Touches the Track)
The phrase “lubricate your garage door” has probably caused more damage than it has prevented, because the garage door is not one mechanism. It’s five different mechanisms with five different lubrication requirements. Treating them all the same is how a $12 can of spray turns into a $400 spring replacement. Here is the exact breakdown we use on service calls throughout Littleton.
Rollers: White Lithium Grease Only
Rollers have ball bearings inside the wheel. Those bearings need grease that stays put. White lithium grease in a spray can works because it clings to the bearing surface and doesn’t run off. Spray a short burst at the bearing area where the wheel meets the shaft, then spin the roller by hand to work it in. Do not spray the roller where it contacts the track. A greasy roller picks up dirt and grinds it into the track surface, which wears both parts faster. Nylon rollers from brands like Clopay roll quieter than steel and need less lubrication, but the bearings still dry out. Lubricate them the same way twice a year.
Hinges: White Lithium Grease, Light Application
Hinges pivot where they fold. Spray a small amount at each pivot point, then open and close the door once to spread it. Wipe away any excess with a rag. Grease that drips onto the door face attracts dust and looks terrible on a white sectional door in a Littleton neighborhood. A little goes a long way.
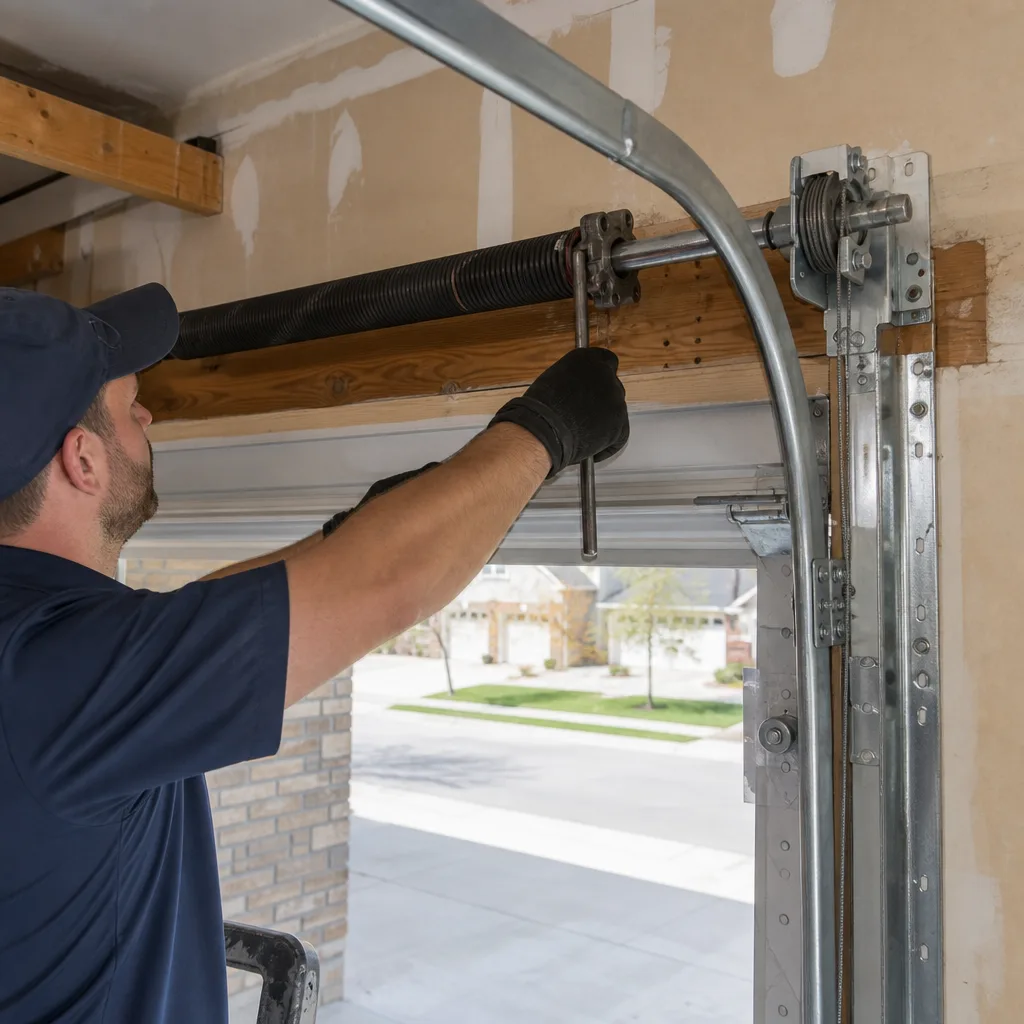
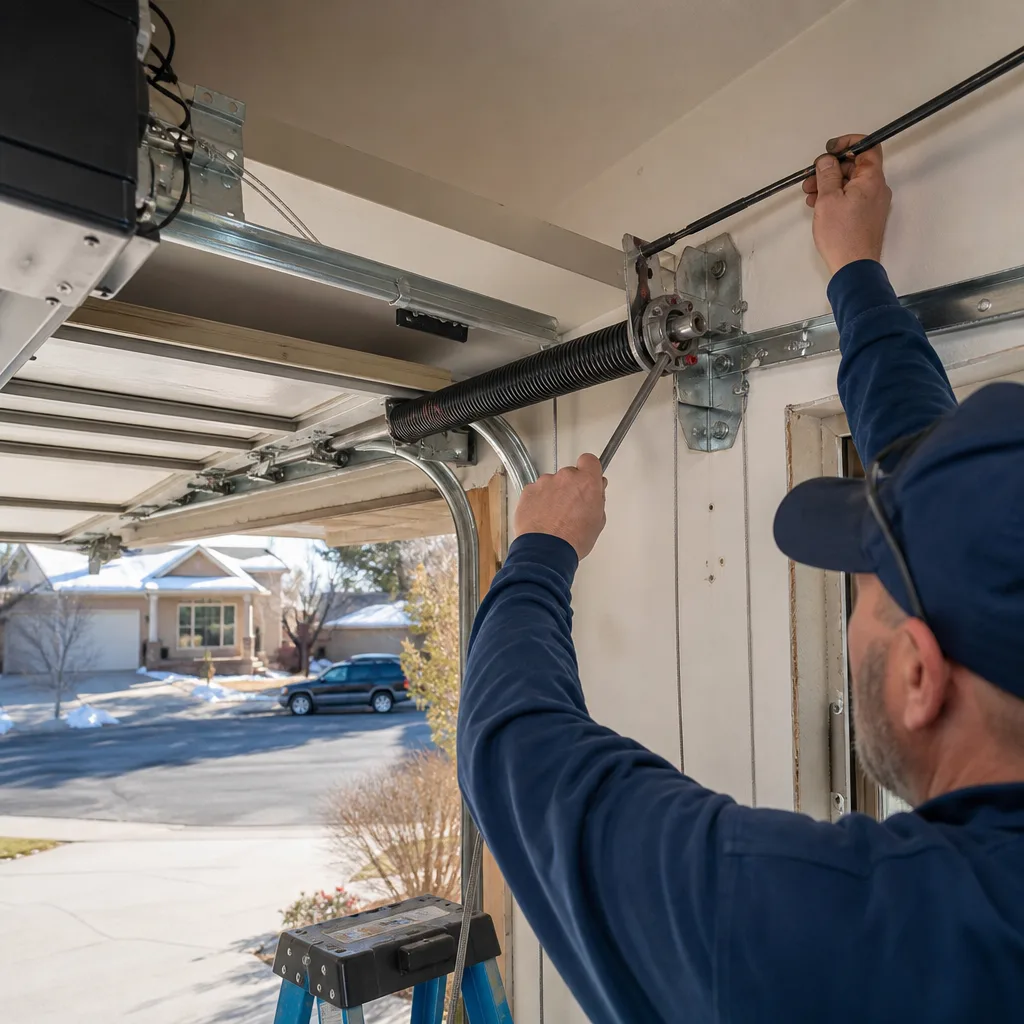
Torsion Springs: Nothing. Ever.
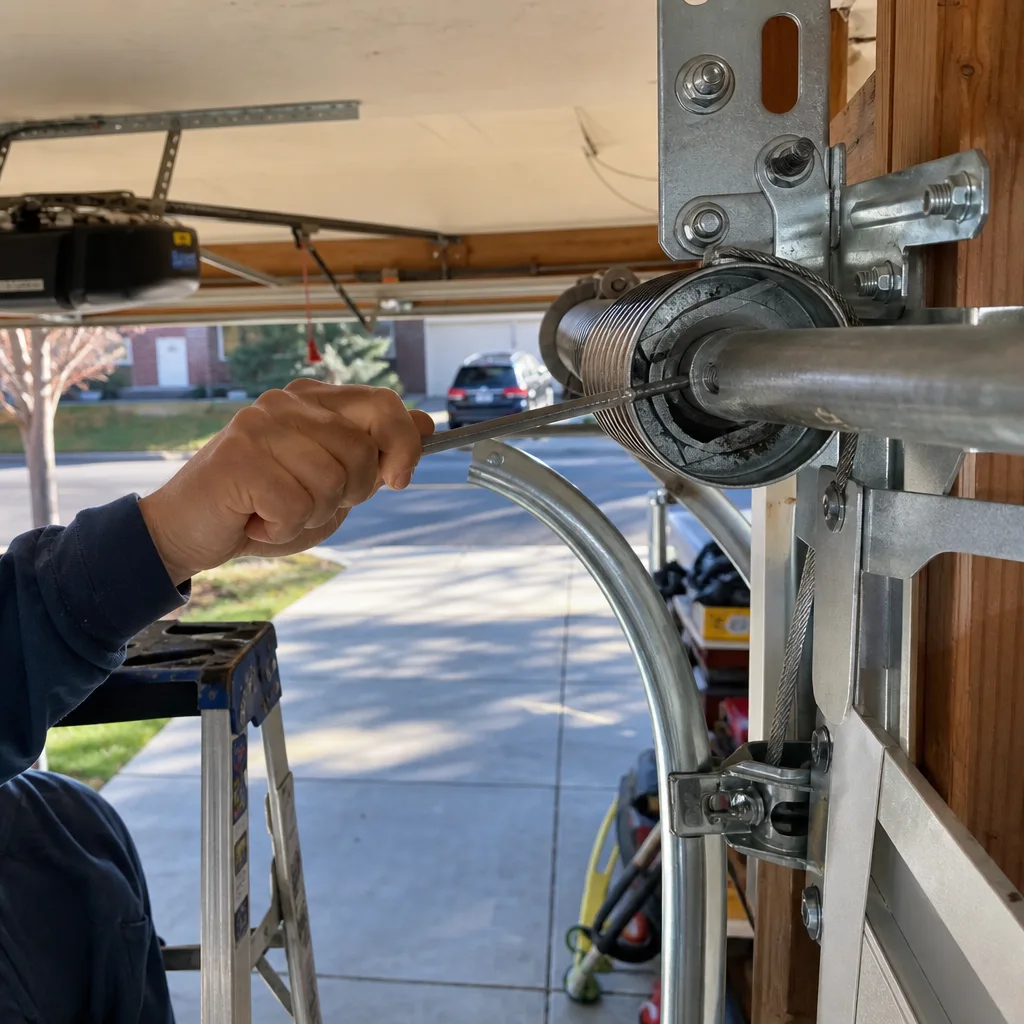
This is the part where most checklists fail. Torsion springs are coated at the factory with a protective oil that prevents surface rust and reduces friction between coils. Spraying them with WD-40 or any petroleum-based product dissolves that factory coating. The spring then runs metal-on-metal, which generates heat, accelerates fatigue, and shortens the spring’s cycle life (most residential springs are rated for 10,000 cycles, which is roughly 7-10 years of normal use in a Littleton home). If you see surface rust on a spring, wipe it with a dry cloth. That’s it. If the spring is visibly cracked or has a gap in the coils, do not touch it. That’s a broken spring, and it’s under enough tension to remove a finger. Call a professional.
The Track: Nothing, Including Cleaner
The track is not a lubrication point. The rollers ride on bearings, not on the track surface. A lubricated track collects the fine dust and grit that blows through Littleton’s arid climate, and that grit becomes sandpaper against the roller and the track both. If the track is dirty, clean it with a dry cloth or a vacuum. If it’s greasy from a previous owner’s mistake, wipe it down with a mild degreaser and leave it bone dry.
What About the Opener Rail?
If you have a screw-drive opener, the rail does need occasional lubrication. If you have a belt-drive or chain-drive opener (LiftMaster and Genie are the most common brands we see in Littleton garages), the rail needs nothing. Consult your owner’s manual, but the short rule: screw drive gets a light coat of white lithium grease once a year. Belt and chain drives stay dry.
For a full breakdown of what we inspect on a service call, see our Garage Door Repair in Littleton page.
The Balance Test: How to Perform It and What the Results Mean
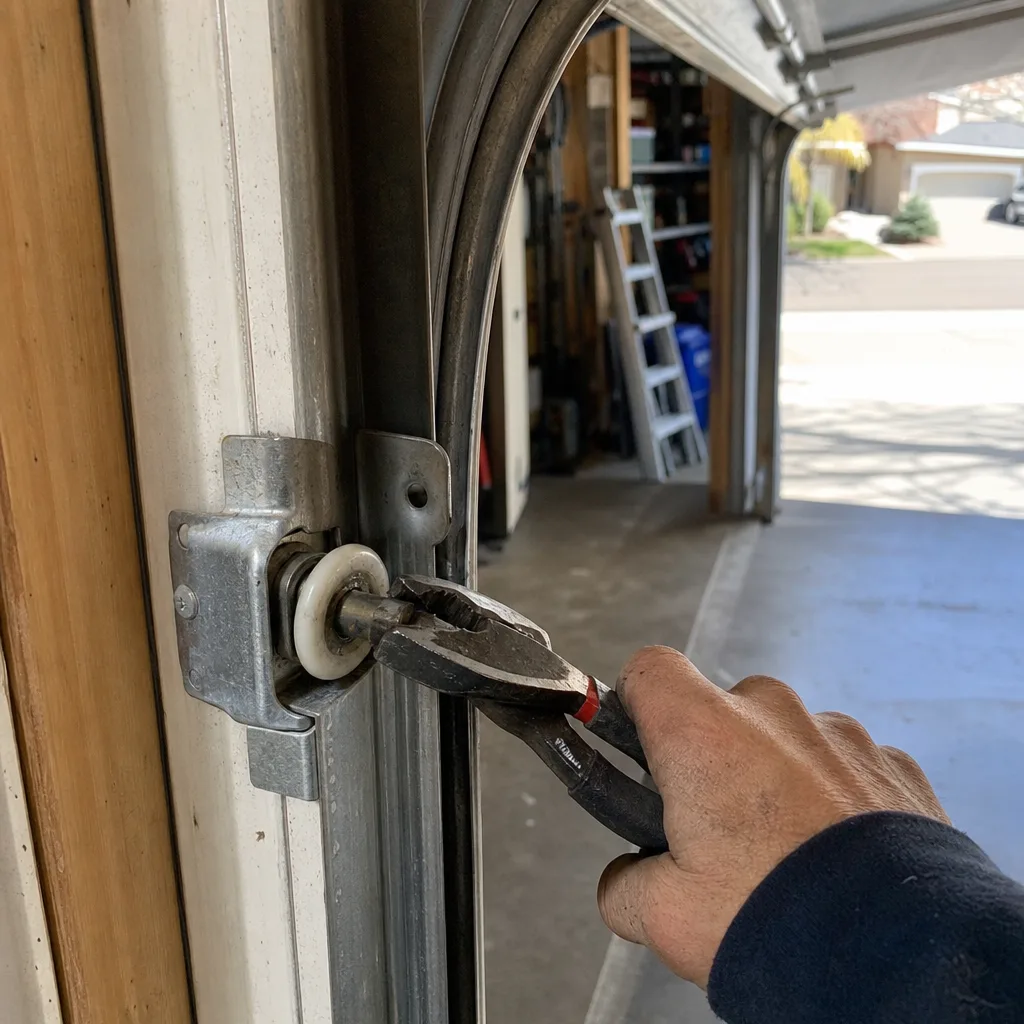
A balanced garage door stays where you put it. When the springs are doing their job, the door’s weight is offset, and the opener only has to nudge it. When springs lose tension, the opener has to muscle the door open, which burns out motors, strips gears, and shortens the life of everything connected to it. The balance test takes three minutes and tells you exactly how your springs are performing.
How to Perform the Balance Test
- Close the door completely.
- Pull the red release handle on the opener rail. This disconnects the door from the opener carriage.
- Lift the door manually by the handle. It should rise smoothly without requiring serious effort.
- Stop the door at waist height, about halfway open, and let go.
- Watch what happens.
What a Passing Result Looks Like
A properly balanced door stays put. It doesn’t rise. It doesn’t fall. It hangs there, steady. That means the springs are providing roughly equal counterforce to the door’s weight. If you have a two-car garage door from Amarr or Wayne Dalton, a passing test means the springs are working within spec and the opener isn’t carrying more than its share.
What a 3-Inch Drift Tells You
If the door drifts downward an inch or two and stops, you’re at the early edge of spring fatigue. The springs have lost some tension but are still functional. If the door drifts three inches or more, or if it drifts upward on its own, the springs are no longer matched to the door’s weight. An upward drift means the springs are over-tensioned and dangerous to adjust without a winding bar and the proper training. A downward drift of three inches means the springs are losing tension and need replacement sooner rather than later. In our experience replacing torsion springs across Littleton, doors that drift three inches during this test usually fail within six months. The spring hasn’t broken yet, but it’s telling you it’s done.
What to Do If the Door Slams or Flies Open
If the door falls hard when released, or if it flies upward, re-engage the opener by pulling the red handle toward the door and pressing the wall button. Then stop using the door and call for service. A door with a failed spring or a snapped cable is under no control, and manually forcing it risks injury. For a diagnostic walkthrough of what a failing spring looks like, read our Garage Door Repair in Littleton guide.
Weather-Seal Inspection for Littleton’s Freeze-Thaw Cycle
Littleton sits at 5,351 feet, which means your garage door weather seal goes through something most seals never face: repeated freeze-thaw cycling from October through April. Water gets into the rubber, freezes, expands, and cracks the seal from the inside. By the time you notice a gap under the door, the seal has usually been failing for months. Here’s how to read the three things we look for on every Littleton service call.
Cracking: The Freeze-Thaw Signature
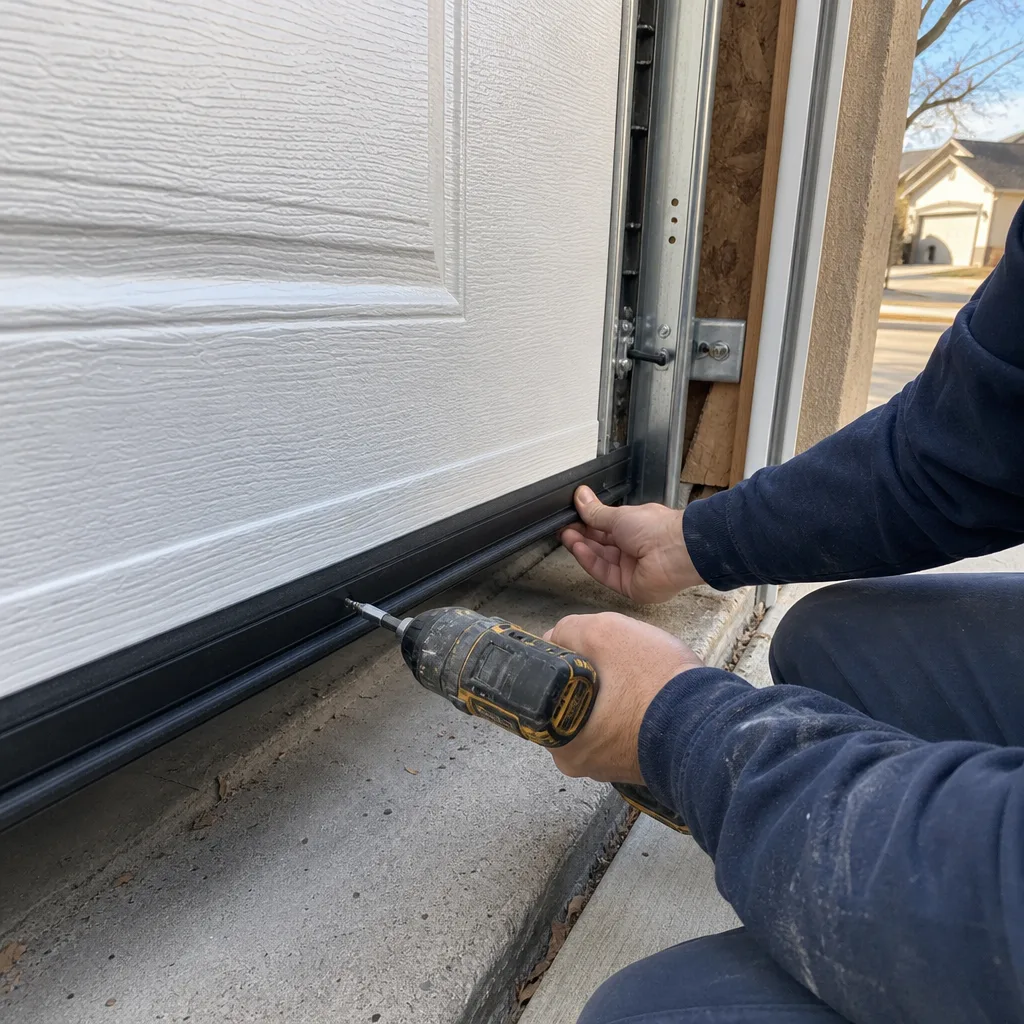
Run your finger along the rubber strip at the bottom of the door. If it feels rough, split, or shows fine cracks that look like dry skin, the seal has been damaged by repeated freezing and thawing. Littleton’s winter temperature swings (teens at night, forties by afternoon) are exactly the pattern that causes this. A cracked seal still blocks some air, but it’s letting in cold air, dust, and moisture. Replace it before the next hard freeze.
Compression Set: The Flat Spot Problem
Compression set is the technical term for when rubber doesn’t bounce back after being squeezed. Look at the seal where it meets the concrete floor. If it’s flattened, hard, or shows a permanent indentation, the rubber has lost its memory. This happens faster in Littleton because the garage floor heats and cools at a different rate than the door, and the seal is the thing caught in between. A seal with compression set doesn’t compress against the floor anymore. It just sits there. Air moves under it freely.
Detachment: The T-Channel Failure
Most residential doors use a T-channel seal that slides into a groove in the aluminum retainer on the door’s bottom edge. When that channel widens or the rubber shrinks, the seal pulls free at one corner. You’ll see it hanging or gaping at the edge. This is the easiest fix of the three, and also the one homeowners miss most because it starts at the corner and takes months to get obvious. Check both corners every time you do the monthly inspection.
Why It Matters in Littleton Specifically
A failing weather seal doesn’t just make the garage colder. It lets mice in (Littleton’s open spaces send plenty of them looking for winter shelter), drags dust onto everything you store, and forces your garage heater, if you have one, to work against the outside air. If you’re considering a new door, the weather seal is one of the first things we evaluate on a Garage Door Installation in Littleton estimate.
Auto-Reverse Force Test: The Numbers That Matter
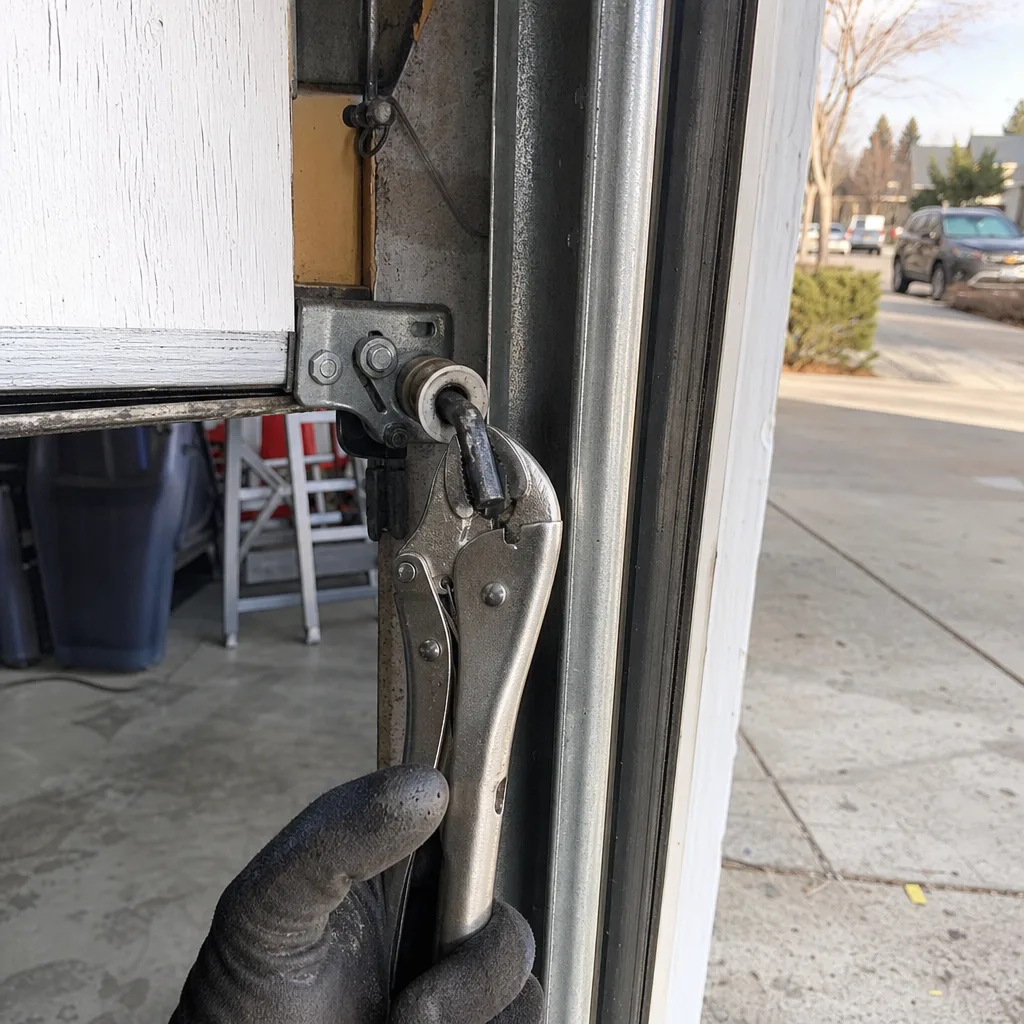
Since 1993, federal law has required every garage door opener sold in the United States to include an auto-reverse mechanism that stops and reverses the door when it encounters resistance. The standard test uses a 2×4 laid flat on the floor under the door’s path. When the door hits the wood, it should reverse within two seconds of contact. Not after compressing the wood. Not after grinding for a moment. Two seconds, maximum, and the door should reverse completely to the open position.
The Two Separate Adjustments Nobody Explains
Your opener has two settings that get confused constantly: the limit switch and the force setting. They do different things.
The limit switch tells the opener where the door stops. A correctly set limit means the door closes until it touches the floor, but doesn’t keep pressing into the concrete. Set it too far, and the door grinds at the bottom on every close. Set it too short, and you get a gap under the door that lets in cold air and rodents.
The force setting tells the opener how much resistance it’s willing to push through before it decides something is wrong and reverses. Set the force too high, and the door will try to close through a bicycle, a child, or a dog. Set it too low, and the door reverses on its own halfway through a normal close, usually on cold days when the rollers and hinges are stiffer. The correct setting is the lowest force that still closes the door reliably. There is no reason to set it higher.
The Test That Confirms Both Are Right
- Place a 2×4 flat on the floor directly under the door’s closing path.
- Close the door using the wall button.
- Watch what happens when the door touches the wood.
- The door should reverse within two seconds and return to fully open.
- If it does not, reduce the force setting and test again.
- If reducing the force setting causes the door to reverse during a normal close (with no obstruction), adjust the limit switch slightly and retest.
If you cannot find a setting that both closes the door reliably and reverses on the 2×4, the opener may need a logic board or a force-sensor replacement. This is common on older Genie and Chamberlain units that we service throughout Littleton. For a full look at what goes wrong with openers and what repair costs look like, see our Garage Door Opener Repair & Installation in Littleton page.
Monthly Visual Inspection: The Ten-Minute Walkthrough
The fastest way to catch a failing component is to look at it before it breaks. Not after. Most garage door breakdowns in Littleton give warning signs for weeks before they strand a car inside or leave a door hanging open overnight. Here is the ten-minute walkthrough we perform on every service visit, adapted for a homeowner who wants to catch problems at the warning stage.
Step 1: Look at the Cables
The cables run along both sides of the door and wrap around the drum at the top. Look for fraying, rust, or any strand that appears broken or unraveling. A cable with a single broken strand is no longer rated for the load it’s carrying. When it snaps, the door drops on one side, and the panel can twist right out of the track. If you see fraying, stop using the door and call a professional. Cables are under the same tension as the springs.
Step 2: Look at the Springs
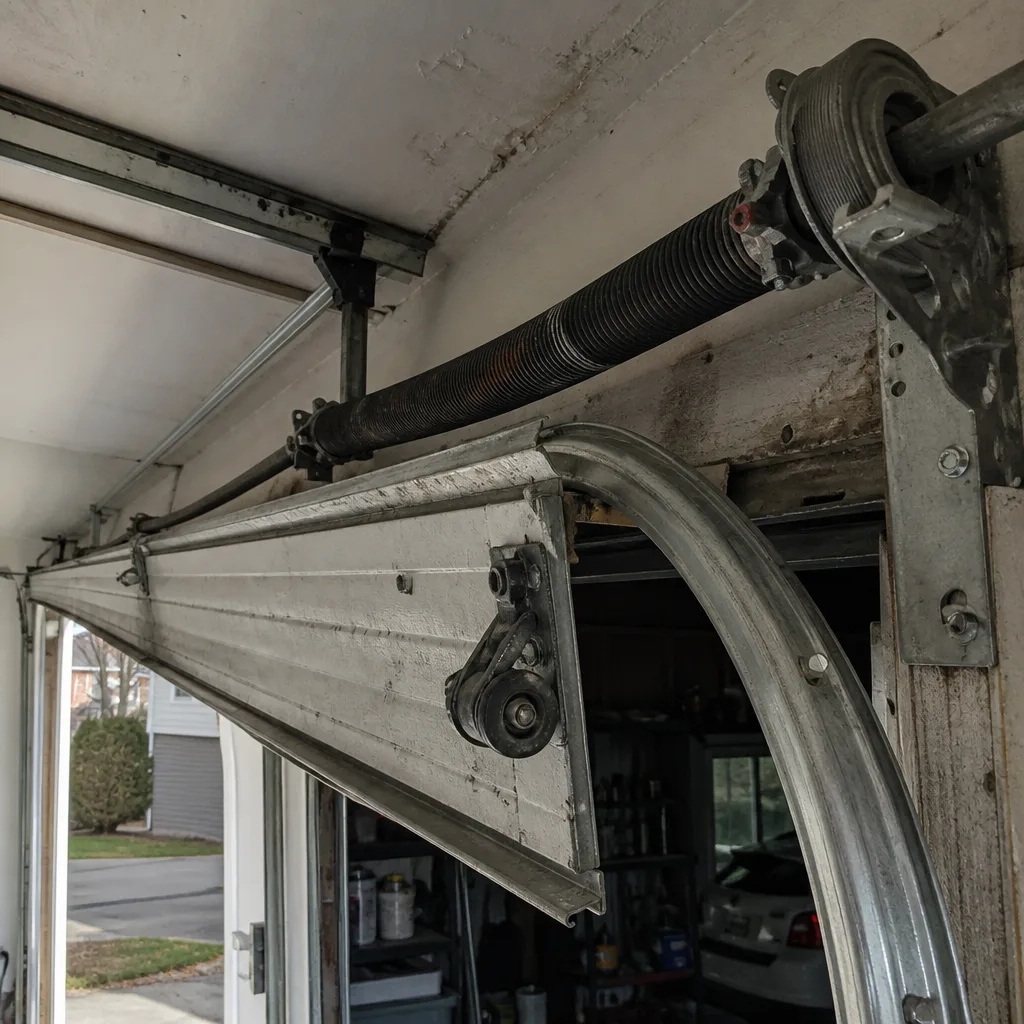
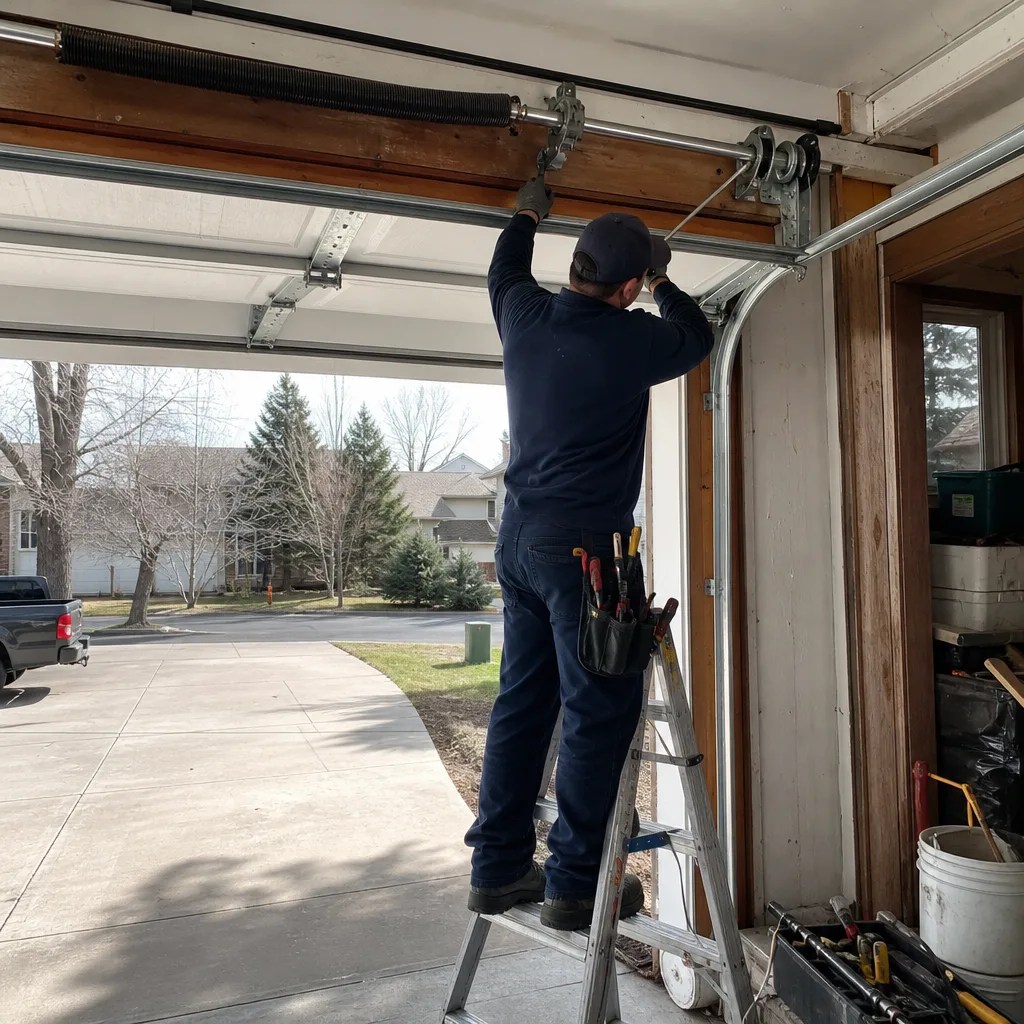
Stand inside the garage, door closed, and look at the torsion spring above the door. You’re looking for three things: a visible gap in the coils (broken spring), rust that goes deep into the metal (surface rust is fine, heavy pitting is not), and any sign that the spring is no longer straight (sagging or kinking). If any of the three are present, call for service. Do not attempt to adjust or remove anything.
Step 3: Look at the Rollers
Check each roller where it enters the track. The wheel should be round, not worn flat on one side. The shaft should be straight. If a roller is cracked, wobbling, or visibly worn, it’s putting uneven pressure on the track. A failed roller can jump the track, and a door off its track is a dangerous situation that usually requires professional repair.
Step 4: Look at the Track
Check that the vertical tracks on both sides are parallel and that the horizontal track above the door hasn’t shifted. Look for gaps where the track sections join. A ladder climbing the track from the inside can tell you a lot if you run a straight edge along the horizontal section. Bent tracks are common in Littleton garages where kids’ bikes and yard tools share space with the door.
Step 5: Listen to the Door
Close the door from inside and listen. A properly maintained door makes a smooth rolling sound. Grinding, scraping, popping, or a rhythmic thump with each panel pass means something is loose, worn, or misaligned. The sound tells you what to look at. Grinding is usually a roller bearing. Popping is usually a loose hinge or a sticky track joint. A thump at the same spot every cycle is usually a panel edge hitting the track or the door rubbing the jamb.
Step 6: Check the Opener
Look at the chain or belt for slack. A chain that sags noticeably is out of tension and will wear the sprocket. Look at the opener rail for debris. Listen to the opener itself: if it’s louder than it used to be, the gears or sprocket are likely wearing. We replace more opener gears in south Littleton than anywhere else in our service area, simply because those doors get more cycles per day than most.
This ten-minute walkthrough is the same diagnostic we start with on every Garage Door Repair in Littleton call. It catches the majority of problems at the point where they’re still affordable to fix.
A 12-Month Littleton Maintenance Calendar
Generic maintenance calendars tell you to do the same things every month regardless of where you live. That’s lazy. Littleton has a specific climate: hot, dry summers; abrupt fall temperature drops; cold snaps that alternate with thaw cycles all winter; and a spring windy season that coats every horizontal surface with dust. Here’s the month-by-month calendar matched to what actually happens in Littleton garages.
January & February: The Deep Freeze Months
Do the ten-minute visual inspection monthly. Test the auto-reverse with the 2×4. Check that the weather seal is still flexible; in extreme cold, rubber gets stiff and can crack under the door’s weight. If the door operates slowly in cold weather, that’s normal, but if it hesitates or reverses on its own, the force setting may need a small seasonal adjustment. Don’t lubricate anything in freezing temperatures; the grease thickens before it penetrates. Wait for a warm day.
March & April: The Wind and Dust Months
This is when Littleton’s spring winds blow fine dust into every gap. Clean the tracks with a dry cloth. Check the sensors at the bottom of the track for dust buildup; dirty sensors are the most common cause of a door that refuses to close in March. This is also the first good window for spring lubrication. Wait for a day above 50°F, then lubricate rollers and hinges with white lithium grease. Inspect the weather seal for freeze-thaw cracking from the winter just ended.
May & June: The Inspection Months
Do the full ten-minute walkthrough. Check cables for fraying, springs for rust, rollers for wear. Perform the balance test. This is the time to catch problems before the summer heat adds stress. If you find anything concerning, get it addressed now rather than in July when you’re trying to leave for vacation and the door fails at the worst possible moment.
July & August: The Heat Months
Littleton summers push garage temperatures past 100°F routinely. Heat accelerates rubber deterioration. Check the weather seal for softening or flattening (compression set). Check that the opener’s force setting isn’t overworked by a door that’s binding in the heat. If the opener smells hot after a cycle or trips its thermal overload, that’s a sign the door is out of balance and the opener is working too hard.
September & October: The Prep Months
This is the most important maintenance window in Littleton. Before the first freeze, replace the weather seal if it shows any cracking or flatness. Lubricate rollers and hinges one more time. Do a complete balance test and auto-reverse test. Check the battery backup on your opener if you have one; winter power outages in Littleton are rare but they happen, and the backup battery is what lets you open the door when the power is out. This is also the best time to schedule any repair or replacement work, because you’re not competing with holiday emergencies.
November & December: The Freeze-Thaw Months
Visual inspection monthly. Watch for frost accumulation on the weather seal, which accelerates cracking. If the door freezes to the floor after a cold night, don’t force it open with the opener. Break the ice bond at the seal first. Forcing a frozen door open rips the seal or bends the bottom panel. Test the auto-reverse monthly; this is the safety system that matters most when kids are home for the holidays.
Common Mistakes to Avoid
- Spraying WD-40 on torsion springs. This dissolves the factory coating and accelerates metal fatigue. We’ve replaced springs in Littleton garages that failed two years early because of this single mistake.
- Lubricating the track. The track is not a bearing surface. Oil on the track attracts grit and turns it into an abrasive slurry. Keep it dry and clean.
- Adjusting the force setting to maximum to fix a door that reverses on its own. The door is reversing because something is binding, not because the opener lacks authority. Cranking the force setting just masks the problem and creates a safety hazard.
- Ignoring a three-inch drift on the balance test. A drifting door means the springs are losing tension. The fix is spring replacement, which costs a few hundred dollars. The alternative is a spring that fails catastrophically, usually at the worst time.
- Replacing the weather seal without checking the T-channel retainer. If the aluminum retainer is bent or spread, a new seal won’t seat properly and will pull free again within months.
- Testing the auto-reverse with a hand or foot. Never use your body to test a safety mechanism. Use a 2×4. If the opener fails the test, the 2×4 absorbs the impact. Your hand won’t.
- Putting off a cable repair because the door still opens. A frayed cable is a loaded gun. The door still works because the remaining strands are holding, but they’re over capacity. When it goes, the door drops on one side, and the panel can twist right out of the track.
When to Call a Professional
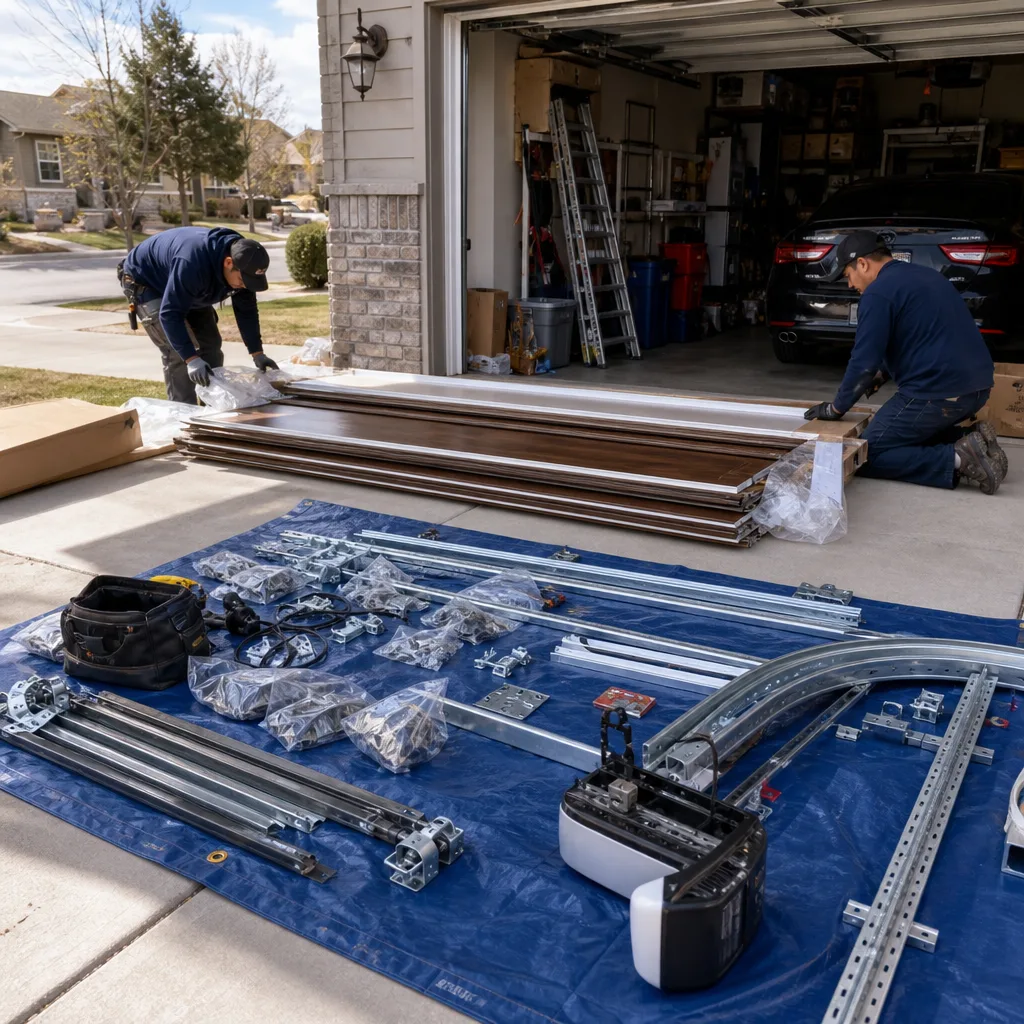
Some maintenance tasks are safe and straightforward for a homeowner. Others are not. If you find a broken torsion spring, a frayed cable, a door that’s jumped its track, or a snapped cable, stop using the door immediately. These components are under high tension, and the failure mode is sudden and dangerous. A torsion spring that breaks while you’re working near it releases enough force to cause serious injury. The same applies to any repair that requires winding bars, cable tension adjustment, or lifting a door off its track. If your automatic opener fails the 2×4 reversal test after you’ve adjusted the force setting down and the issue persists, the problem is likely electrical or a failing logic board, which is not a homeowner repair. Servo Garage Doors Littleton offers free estimates in Littleton. Call (720) 636-7083 and a technician will come out, diagnose the issue, and hand you a flat, written price with a written scope before any work starts. No phone-tag, no callback window, and no price changes after the fact.
Frequently Asked Questions
Most Littleton homeowners spend $80 to $250 for a professional maintenance visit, depending on what’s included. A basic tune-up with lubrication, balance test, auto-reverse test, and inspection typically runs under $150. If the technician finds worn parts, those are quoted separately with a flat, written price before any additional work is done. Servo Garage Doors Littleton includes a documented photo record of the inspection with every visit, so you see exactly what was checked. Call (720) 636-7083 for current pricing.
Twice a year is right for Littleton’s climate. Lubricate rollers and hinges once in spring (after the last freeze, usually late April) and once in fall (before the first freeze, usually October). If your garage faces a dusty alley or open space, you may want to add a third lubrication in mid-summer. Springs get no lubrication, ever. The track gets none either.
Cold weather stiffens rollers, hinges, and the opener’s internal parts. If your door reverses on its own during a close in January or February, the opener’s force setting is detecting more resistance than it’s set to handle. This can mean the force setting is too low for cold-weather operation, or it can mean the door is binding and the opener is doing its job correctly. Try the 2×4 test first. If the door reverses properly on the test, adjust the force setting slightly and retest the normal close. If the problem persists, there may be a track alignment or spring tension issue that needs professional attention.
Torsion springs last 7-10 years on average, based on their cycle rating (most residential springs are rated for 10,000 cycles). Rollers last 10-15 years for nylon, 5-7 for steel. Weather seals last 2-4 years in Littleton’s freeze-thaw climate. Opener logic boards last 8-12 years. Cables last 8-10 years but should be inspected monthly for fraying. If your door is over ten years old and you’re replacing multiple components, a new door installation may be more cost-effective than piecemeal repairs. See our Garage Door Installation in Littleton page for what a new door costs and what’s included.
Homeowners can safely handle lubrication, cleaning, weather-seal inspection, and the balance and auto-reverse tests described in this guide. What homeowners should not attempt: spring replacement, cable replacement, track realignment, or any work that involves winding a torsion spring or lifting the door off its track. These jobs require specialty tools (winding bars, cable tensioners) and carry serious injury risk. When in doubt, call a professional for an assessment. The diagnosis is free at (720) 636-7083, and you’ll get a written price before anything is done.
Yes. Clause 1 of The Haven Standard requires a flat, written price and a written scope delivered before any work begins. You’ll see the number, agree to it, and nothing changes after the fact. If the technician finds additional issues during the repair, those get a separate written quote and your approval before they’re addressed. This is the same pricing discipline behind our Servo Garage Doors Littleton home page and every service we offer. If another company has already given you a written estimate, bring it in. We offer a free second opinion, no coupon needed.
The Bottom Line
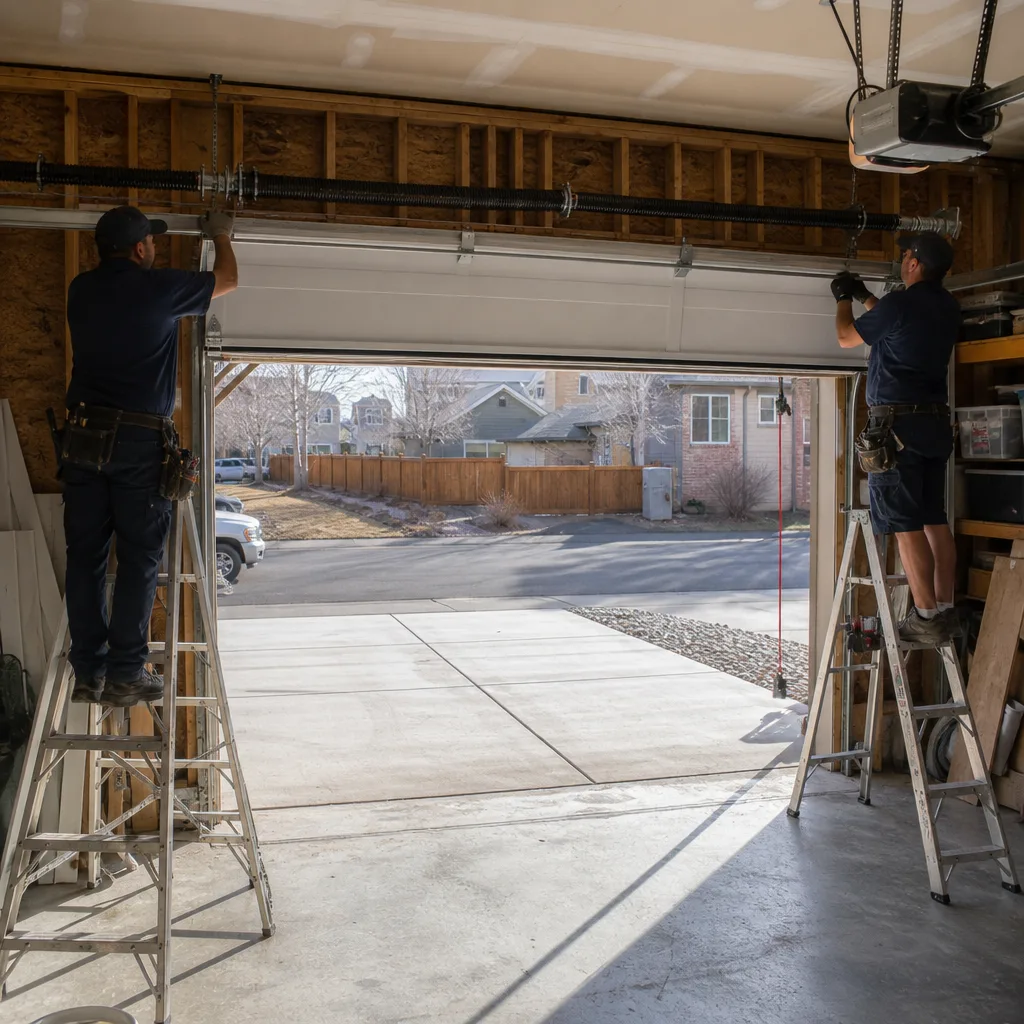
A garage door that works correctly doesn’t need much from you: ten minutes a month for a visual walkthrough, lubrication twice a year on the right parts only, a balance test every quarter, and a weather seal that gets replaced when Littleton’s freeze-thaw cycle wears it out. Most failures we see in Littleton garages are predictable, which means they were preventable. The homeowner who knows what a three-inch drift means, or what a frayed cable looks like, catches the problem when it’s a few hundred dollars instead of a few thousand. Keep the checklist. Do the walkthrough. And when something looks wrong, call (720) 636-7083 for a diagnosis and a written price before anything gets touched.
Written by Marcus Deller, Owner at Servo Garage Doors Littleton, serving Littleton since 2015.